-
 49501 Hits
-
 92.55% Score
-
 40 Votes
|
|
Mountain/Rock |
|---|---|
|
|
30.99253°N / 115.37531°W |
|
|
Hiking, Mountaineering, Scrambling |
|
|
Spring, Fall |
|
|
10154 ft / 3095 m |
|
|
Overview
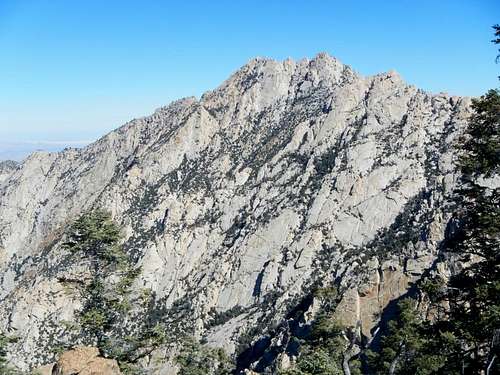
Picacho del Diablo “the devils peak” is considered by many to be the toughest climb on Sierra Club’s Desert Peak Section list. Most notably, it is the highest point of the Sierra de San Pedro Mártir and the Baja peninsula making it a Mexican state highpoint. The first recorded ascent took place in 1911 by cartographer Don McClain. Then in 1932 a party led by Norman Clyde made the second ascent. His account of that adventure can be found in his book El Picacho del Diablo: The Conquest of Lower California's Highest Peak.
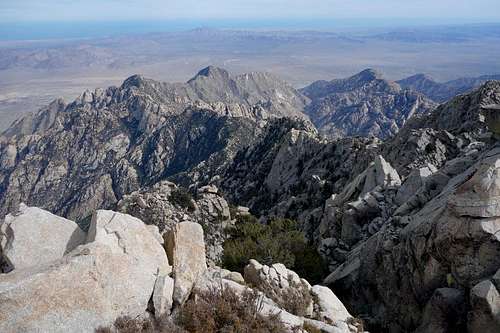
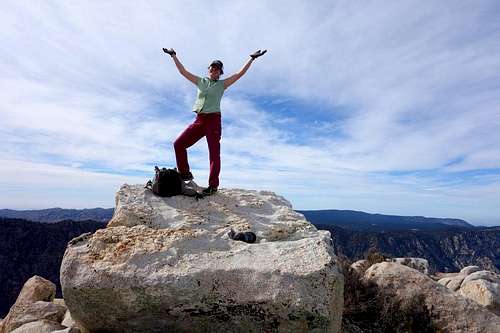
It is said that on a clear day you can see both the Sea of Cortez and the Pacific Ocean from the summit. But reaching that point which affords such a view, requires some very serious effort. Those contemplating an ascent of Picacho del Diablo should be in peak physical condition and have years of experience with off-trail navigation. Failed attempts are common, as well as rescue operations and injuries. The park service takes this endeavor so serious that they may ask to photograph the tread pattern on the bottom of your boots. Think about that…
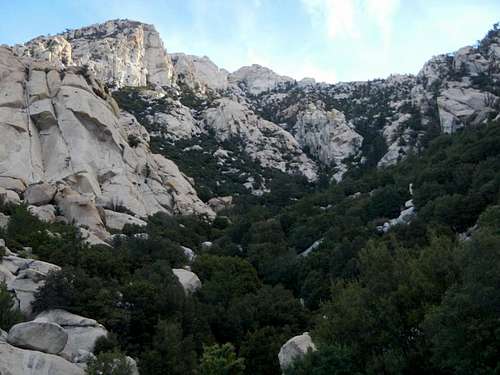
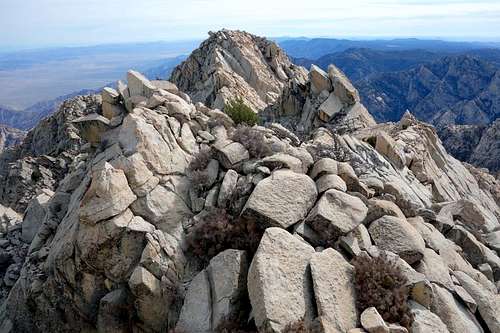
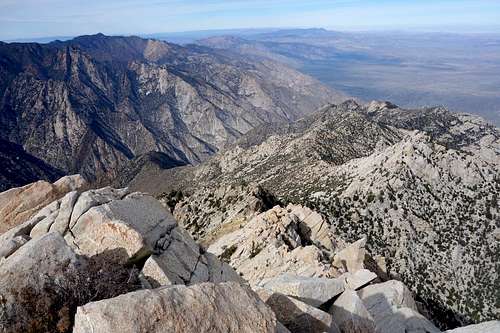
Picacho del Diablo is a peak of exposed granite riddled by a complex system of canyons and gullies, each densely choked with desert flora. Strangely enough, just 3 miles to the west, a high plateau is home to pleasant pine forests and meadows. But the peak itself is detached from this gentler landscape. It stands aside from the main divide, rising above the more chaotic eastern side of the Sierra de San Pedro Mártir. The difficulty of this peak is not a sum of technical challenges. What makes it difficult is the sustained nature of tricky navigation in combination with incessantly rugged terrain. Furthermore, a steep descent of 3000 feet down into a deep canyon is required just to reach the base of the summit route which in itself gains 3850 feet. Lost elevation must be regained on the way out. Combine all those factors with 3 days worth of supplies and overnight gear and you can start to get the picture.
A typical ascent party will require 3 days, the first day to reach Camp Noche, the second to climb the peak, and the third to hike out. Several short sections of the route involve class 3 scrambling and one spot might be considered 4th class, however there are several different variations between Bluebottle Saddle and Camp Noche, so it may depend upon which variation you end up on. See the route description for more detail.
Standard West Route
Actually there are two common routes, however only the western approach will be described in detail considering the fact that most attempts from the north end in failure and car burglaries are common at that parking area. Also please note that the following description is meant as a brief overview and should not be counted upon as your sole piece of route information. Due to the complexity of this route it is hereby suggested that you study several different descriptions. See the Trip Reports section for more detail. Bajaandy also has a good route description. Also keep in mind that the difficult sections of the route are inside the deep canyons and washes, so GPS devices may not function properly.image © 1988 by Jerry Schad
Beginning at Vallecitos Meadow parking area at 8130 feet, hike southeasterly along the dirt road which quickly gives way to a sandy wash. A faint trail parallels this little wash, but if you lose sight of it, continue to follow the main wash. After one mile the path turns slightly more to the east. Watch for cairns. After 2 more miles cross over a gentle pass and turn south following another wash down. After a half mile the path will contour a curved slope and turn left (east). Ascend the final wash for .75 miles through dense Manzanita. Watch for cairns which indicate the best way through the brush. Just before Bluebottle Saddle you will pass through a narrow cleft between two short bands of rock.
At this point most parties will take a break and then hike up Bluebottle Peak (9646 feet) for the view. The main peak which is only 500 feet higher, is now visible. For many visitors to the park, Bluebottle will be the only summit. Look carefully to the northwest and you will also spot the observatory. Back at Bluebottle Saddle, avoid the temptation to descend into the canyon prematurely. Instead, follow the faint path which traverses to the east around Bluebottle Peak for a full third of a mile. After a third of a mile, make a slowly descending traverse to the east and you might encounter your first scrambling and minor exposure.
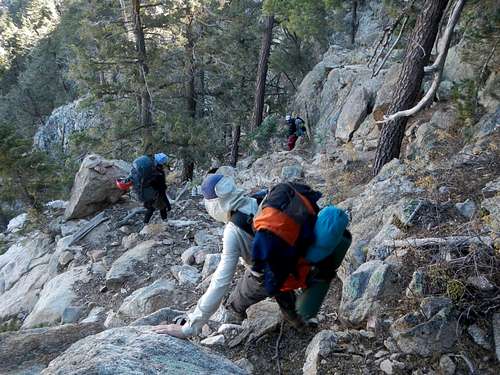
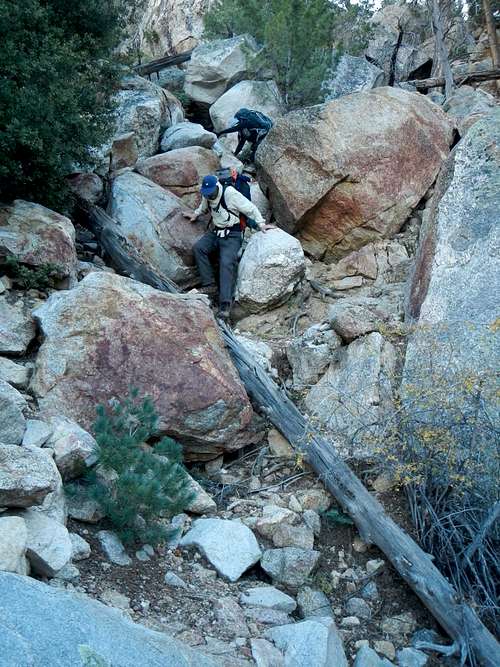
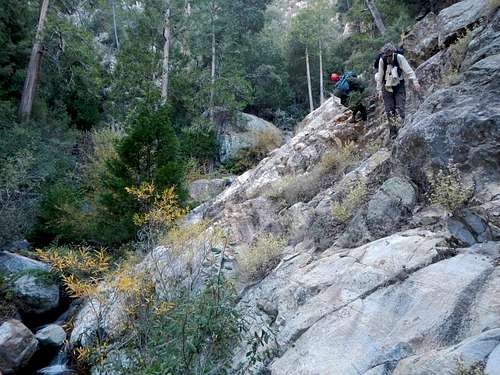
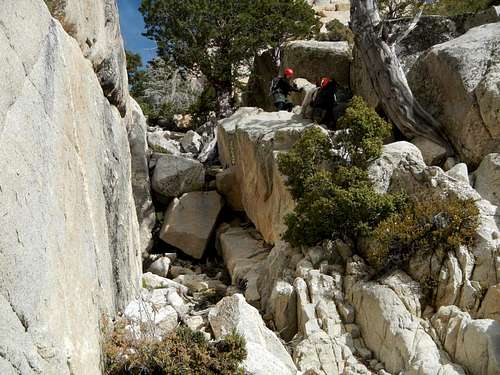
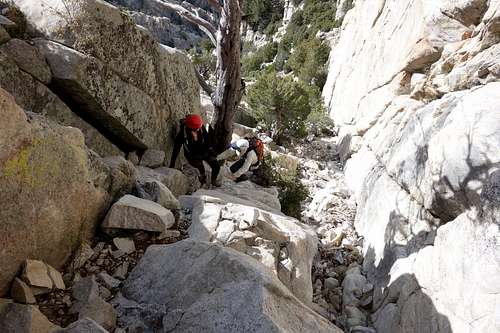
When you come to the center of the main gully called Bluebottle Wash, descend to the north and try to follow cairns all the way to Camp Noche located at the bottom of Canyon del Diablo. There are several dry washes and large boulder piles to navigate along the way. The crux of the entire route is near the bottom of the gully, near where you come to the first running water in the stream. Here the brush is dense and the way may not be obvious. Be careful around the slabs along the west side of the creek.
A tenth of a mile from Camp Noche, there is a smaller overflow camp called Camp Cedaroak located at 6600 feet. The main camp located at 6300 feet has enough space for 8 large tents and a big log with “CAMP NOCHE” carved into it. It is advisable to hang your food at night since this area is frequented by ringtail cats. If you stay up after dark, you will probably see them.
Summit Day
Ascend directly out of Camp Noche on the eastern slope through dense brush. Soon a faint path and cairns will lead a steep direct ascent up Night Wash. After a third of a mile and roughly 800 vertical feet, cross over a ridge at the top of Night Wash and descend a short way into the base of Slot Wash. This gully is broader in the base and full of vegetation, but narrows higher up.
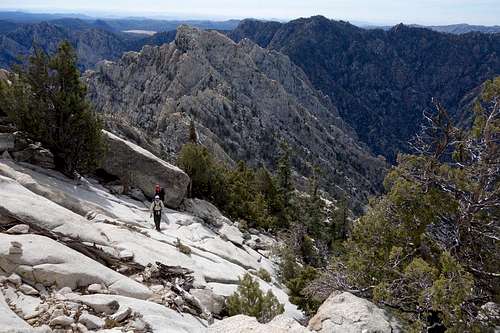
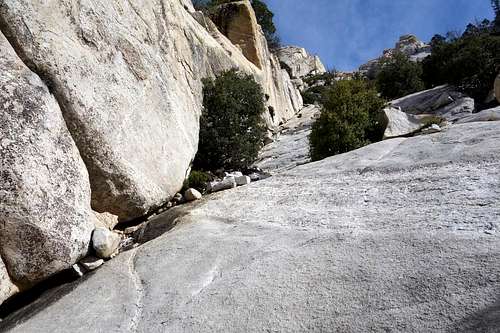
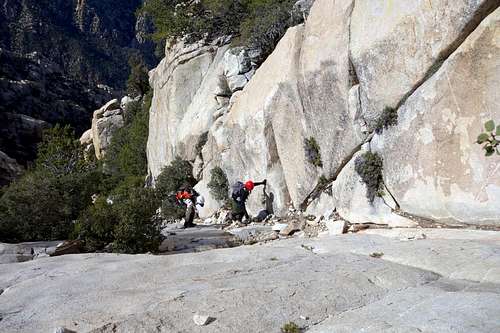
If you come to a rock cleaver which divides the gully, make sure to pass along the left side. In general many obstacles will be encountered over the next mile and often there is a way to bypass them to the left. A few large rock steps are encountered which could be rated class 4, but without exposure. In the upper part of Slot Wash there are friction slabs with minor exposure and then a right facing dihedral. Sometimes this dihedral is mistaken for the more famous route feature yet to come, called Wall Street.
Above the friction slabs there is an open scree slope which appears to end in a headwall. Traverse to the right and a narrow slot will appear above you. This is Wall Street. It’s a steep passage between two cliffs. In the middle of it there is chock-stone blocking the way. Thankfully, some exposed class 3 ledges along the right side offer a bypass option. Ascend to the top of the slot and then walk up some more slabs to reach the final ridge before the summit.
From the summit you may view the slightly lower south peak, which is farther away than it looks and requires technical climbing.
Driving Directions
The following is taken from Greg Slayden’s trip report on Peakbagger.com“From Tijuana, drive Mexico Highway 1 south through Ensenada to the side road to the mountain. This left turn is at (30.9667, -116.1547) and was signed “San Pedro Martir/Observatorio” in Noivember 2014. It is paved most of the way to the trailhead.
Allow two hours to reach the trailhead from Highway 1 and a full day from Tijuana. 58 miles from Highway 1 (93.6 kilometers) and beyond the ranger station, turn right at (31.0222,-115.4742) on a narrow, rough dirt road (drivable for most passenger cars) that passed a well structure and then wound through pleasant forest for 2.3 miles to a picnic area at (30.9991, -115.4500, 2460m). This is the trailhead.”
Red Tape / Camping
If you are coming from southern California or Arizona, allow a full day to reach the trailhead. Mexican auto insurance is required to drive in Mexico and can be acquired in any of the numerous offices in towns just north of the border. A tourist visa is also required to travel in Mexico and this can be acquired in customs at the national border.Make sure you stop at the National Park entrance station to pay your fees and get photographed. In November of 2014, it cost $35 for a party of four. Officially camping is not allowed at the trailhead, however it seems that it is understood that people driving in from the US will do so. An alternative to this would be to stay at nearby Rancho Meling.
When To Climb / Route Conditions
In general, there are a few seasonal conditions which should be avoided. July and August tend to bring more rain and thunderstorms. During any time between November and April, there could be snow or ice on the route, and this would treacherous. However some ascents do take place in the winter months during years without snow. If you want to play it safe, May or September are probably best.External Trip Reports
Don’t forget to check out the Summitpost reports already attached to this page (left column).Good Overview Summary by Richard Carey
Historic 1937 ascent described by Randall Henderson
2000 trip report by Christopher Brennen
2001 trip report by Steve Eckert
2008 trip report by Bob Burd
2010 trip report from whitehaiger.net
2013 trip report by Harlan stockman photos
2014 trip report by gimpilator


Jesus Malverde - Feb 9, 2015 10:21 am - Hasn't voted
additionalComing Home from Devil Mountain by Eleanor Dart O'Bryon http://www.amazon.com/Coming-Devil-Mountain-Eleanor-OBryon/dp/0943173205 A story about a climbing rescue on Pichacho del Diablo published in 1989 The Sierra Club's Desert Peak Section Road & Peak Guide has four Mexican peaks in its Mexico Ranges section which includes Picacho del Diablo (and a B&W topo map of the route) http://angeles.sierraclub.org/dps/guides.htm Suprisingly, International Alpine Guides runs a guided climbing trip for Picacho del Diablo http://www.internationalalpineguides.com/picacho-del-diablo/