-
 10674 Hits
-
 88.19% Score
-
 26 Votes
|
|
Route |
|---|---|
|
|
Ice Climbing |
|
|
Winter |
|
|
Half a day |
|
|
WI4 |
|
|
4 |
|
|
V |
|
|
Overview
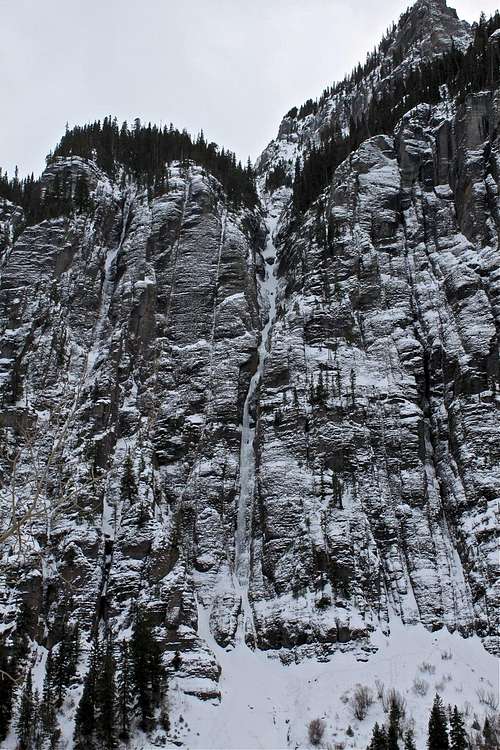
The locals say that: "Ouray is proof that God is an ice climber." I believe that this route confirms the statement.
There is a high potential for an avalanche since there is a large bowl area above the climb. The bowl above is not entirely visible and should be considered loaded after fresh snowfall. Check avalanche report prior venturing out there.
Also, this is a very popular climb, and multiple parties are not easily accommodated here. The climb is narrow and there is a lot of snowdrift and falling ice, especially if another party is above you. Start early, and prepare to climb something else if there are climbers on the route. And do not attempt this route in a bad weather. There is no escape from avalanches here. Some call it Death Route.
Grade: Jack Roberts in his Colorado Ice gives it grade V, which means a long climb in a remote setting, requiring all day to complete the climb itself. Requires many rappels off anchors on descent. Sustained exposure to avalanche or other danger. We did the climb in less than 5 hrs (approach, taking photos, talking to another climbing party, eating snacks, drinking the whole thermos of tea, not rushing - climbing at leisure pace). So, perhaps grade IV? The avalanche danger here is real. Some advise to do this climb early in the year before much snowfall happens.
There is a cell phone reception in this area (Verizon Wireless at least).
![The crux]()
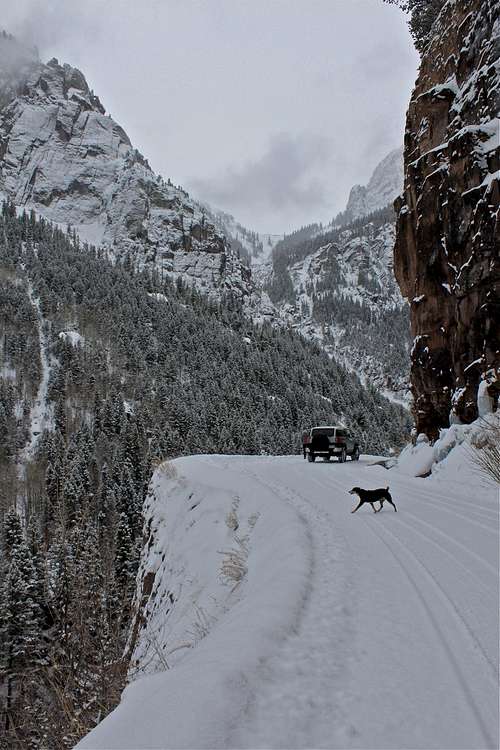
I found crossing the creek as the most difficult part of the day:). The rocks in the creek were slippery.Park at the big pullout - Senator Gulch. The climb is visible from here and looks really impressive.
Getting There
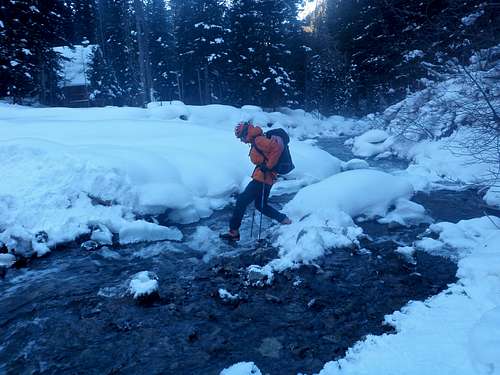
I found crossing the creek as the most difficult part of the day:). The rocks in the creek were slippery.
From Ouray, drive south on U.S. 550 and turn just past the first switchback on the well signed Imogene Pass/Camp Bird Road (# 361). This road goes through the Ice Park. It is a well maintained dirt (=snow) road, snow plowed in the winter for the first 4.5 miles to the Senator Gulch area. The road has some exposed sections. The parking lot at the Senator Gulch can accommodate about 15 cars, and it can get full on weekends.
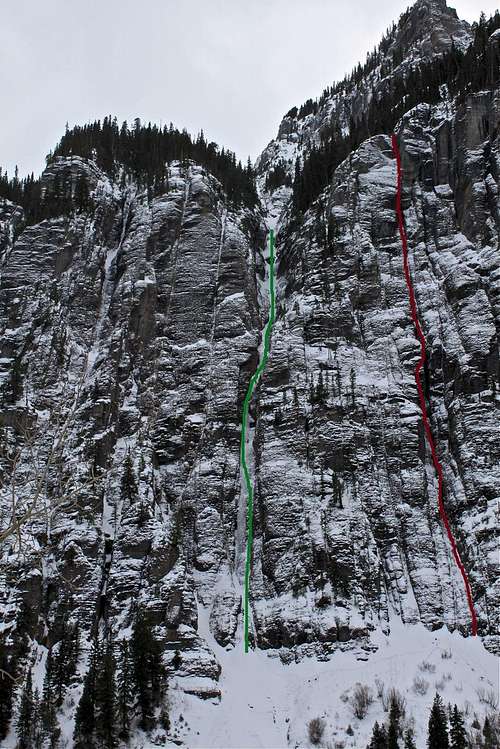
Hike across the valley to the base of the route. Drop through the trees (usually there is a path since the climb is very popular and it also accesses above mentioned Bird Brain Boulevard). The climb is visible on your approach, and is directly across from the parking. You will have to cross the creek and then ascend slopes towards the climb. Skirt the slope on the right, where there is more shelter from snowdrifts and avalanches.
Approach Time: 30-40 min
Distance: less than 1 mile
Obstacle: stream crossing, high danger of avalanches
Season: can form up late November and may last till early April (some years does not form at all)
History: 2009 was a bad year, 2010 - good one, 2011 and 2012 bad years, and this season fall/winter 2013 started great.
Exposure: Northwest (don't expect sunshine and be prepared for snowdrift)
Route Description
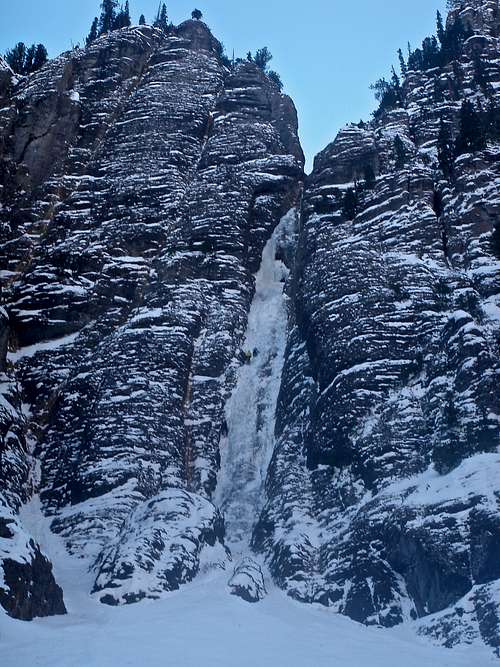
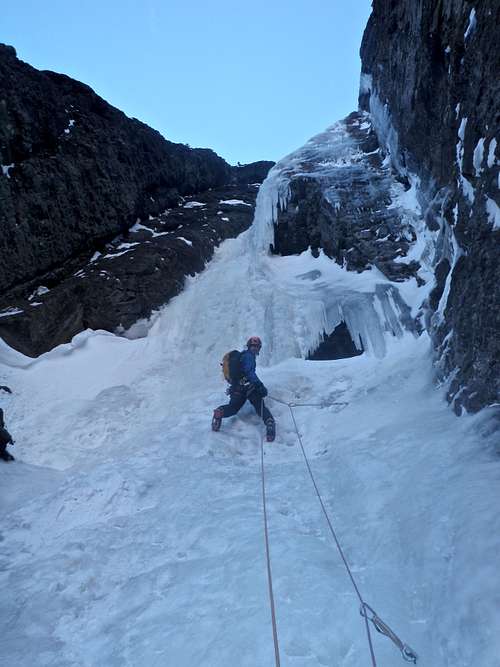
Nice and obvious line of ice inside a gully with a high avalanche potential (I hope I mentioned that avy risk enough). The climb is slightly over 200 meters long.
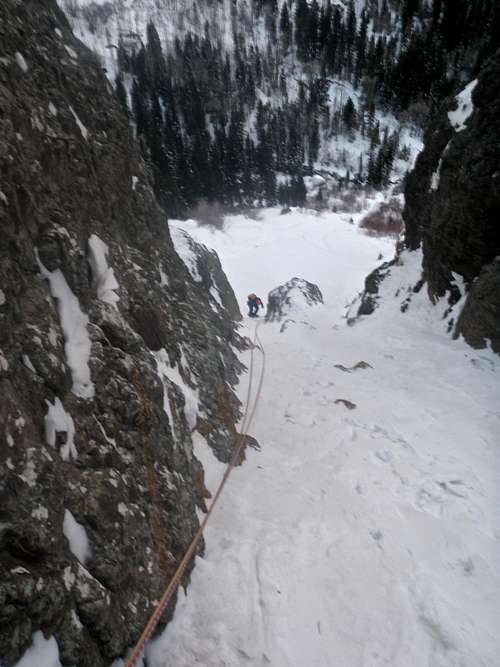
Pitch 1: very easy WI 1-2, mostly snow climb to the base of the steeper section. You can solo this section, just expect snow drift and falling ice (especially if there is a party above you). Nice anchors on the climber's right, just below the icy ramp.
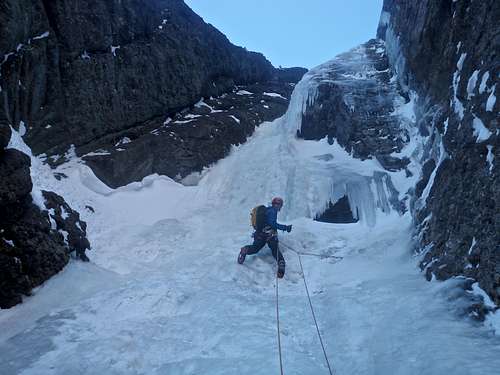
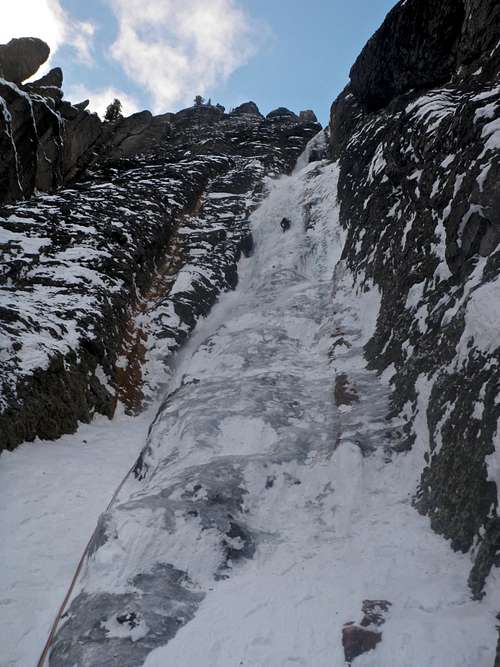
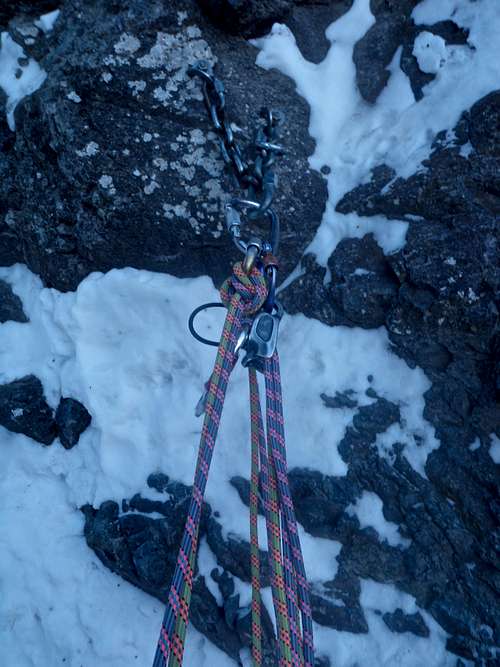
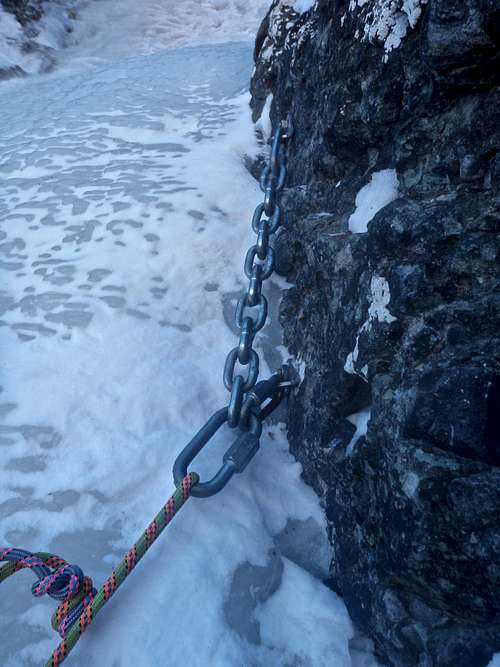
Pitch 2: WI 4, long, you will almost run out of 60 meter rope. Starts easy, then steepens up. Nice anchor chains on the climber's left, and right in the path of the worst snow drift. Consider moving slightly up and to the right and building your own anchor over there. There is less snowdrift on the right side.
Pitch 3: WI 2/3, about 40 meters, bolted anchors on the climbers right.
Pitch 4: WI 4/4+: more challenging than pitch 2. The steep section is not very long. Again, bolted anchors on climber's right. These chained anchors are relatively low, and can get buried in the ice. There is some old webbing above the bolted anchors, which did not look very solid. You may have to built an abalakov (v=thread) here to rappel down if chained anchors under the ice.
Essential Gear
- Harness, ice tools, crampons, ice screws, screamers/runners, locking carabiners, belay device
- Two 60 meter ropes (2 of the pitches are nearly 60 meter long)
- Bolted anchors at all stations, some anchoring material or use a clove hitch. The last bolted anchors can get sometimes buried in the ice, so be prepared to create an abalakov (=v-thread) for rappel.
- Helmet
- Warm clothing, layers, extra gloves, toe and hand warmers, thermos with hot tea
- Trekking poles (very useful when crossing the creek below the climb)
External Links
- The Ribbon on Mountain Project
- Climb description from Jack Robert's "Colorado Ice"
- Cameron Burns "Colorado Ice Climber's Guide" description of the climb
- Northern San Juan Avalanche Report
- Ouray Hot Springs
- Ouray Mountain Sports - the best place to gear up (nice selection of ice climbing gear).


