-
 11013 Hits
-
 72.08% Score
-
 2 Votes
|
|
Route |
|---|---|
|
|
45.88989°N / 114.29685°W |
|
|
Hiking, Mountaineering, Mixed, Scrambling, Skiing |
|
|
Spring, Summer, Fall, Winter |
|
|
Most of a day |
|
|
Strenuous |
|
|
Class 3 |
|
|
I |
|
|
Overview
Route Type – Scramble Class Level – Class 3 Elevation – 10,157’ Gain - 3,256' Distance – 3.4 miles (one way) Length of Time Required to Complete the Route – One Day
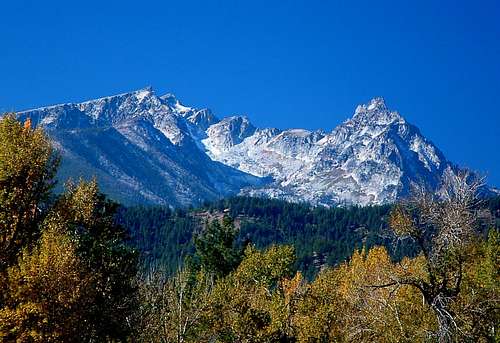
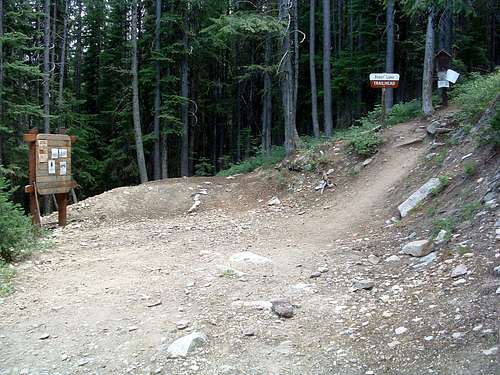
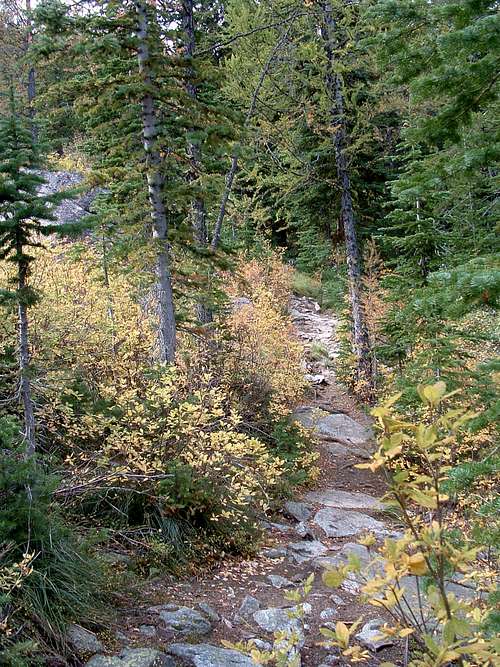
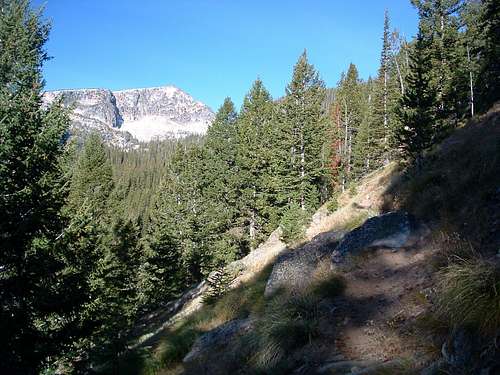
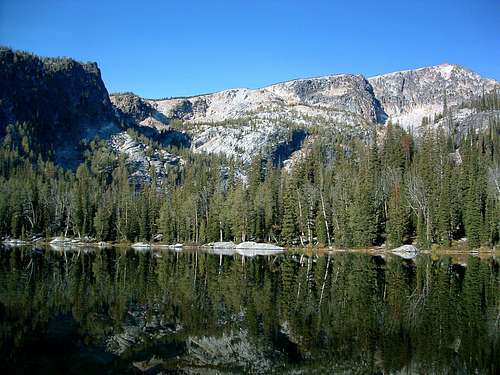
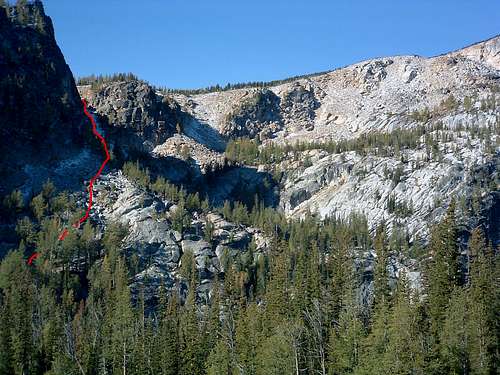
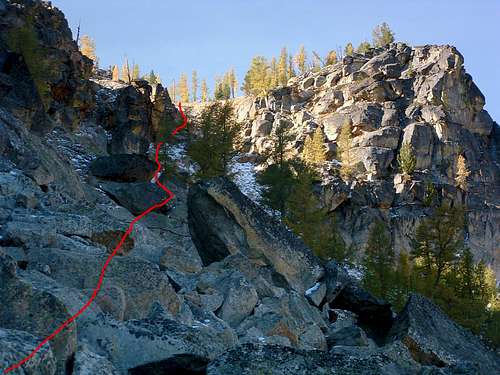
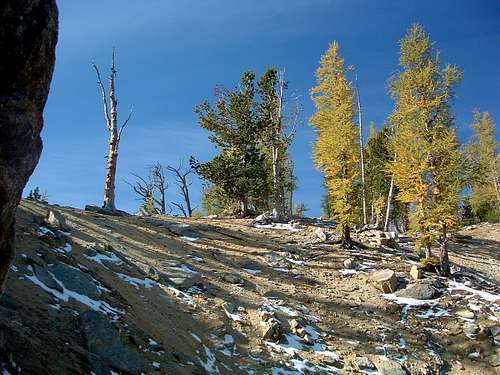
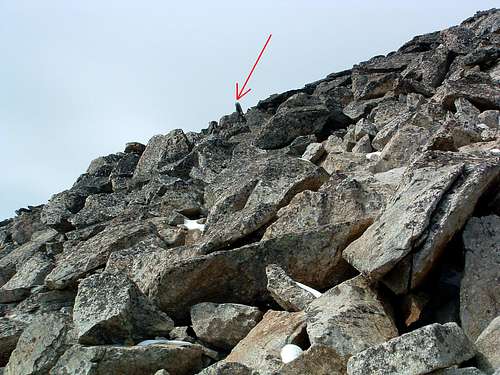
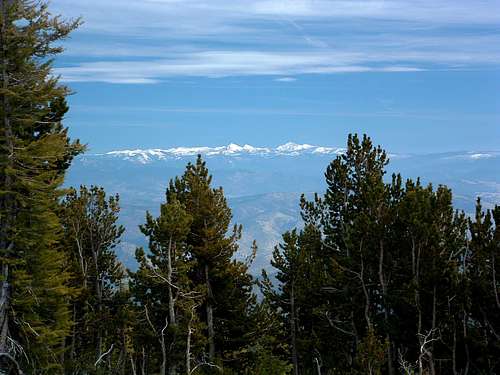
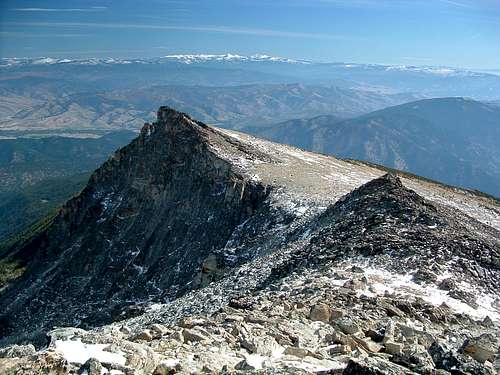
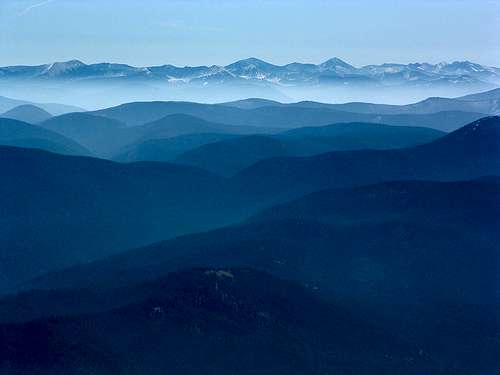
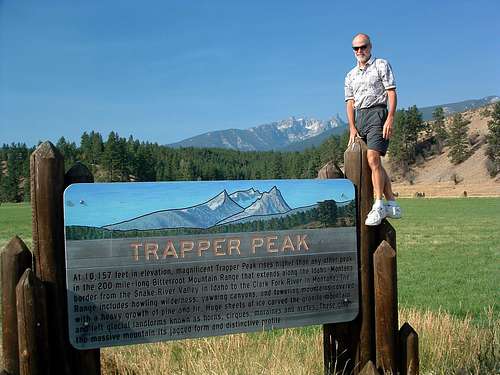
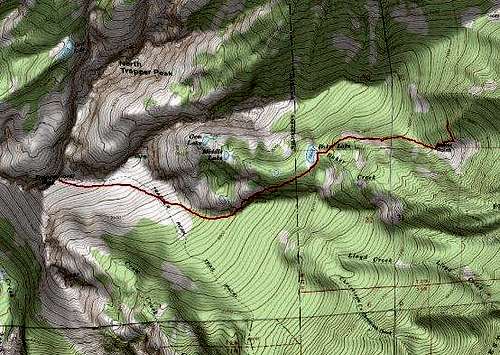
With a summit elevation of 10,157’, Trapper Peak is the highest peak in the Bitterroot Mountains. On a clear day, the views from its top are astounding. The Beaverheads to the south, Pintlers to the east, and even the Mission Mountains north of Missoula, MT, are visible. To the west, the uncountable peaks of the Idaho wilderness fade into the distance. This particular route is practically unknown. It is viable for use at any time of year to reach the summit of Trapper Peak, a popular summer-weekend highpoint. Getting ThereBaker Lake Trailhead From Darby, drive south about 4.5 miles on Hwy 93 and turn right (west) onto Montana 473, also known as the West Fork Road. Shortly after mile marker 6 and after passing the Trapper Creek Job Corps facilities, on your right (west), will see a USFS sign indicating a turnoff for the Trapper Creek Trailhead. Immediately begin looking for the USFS sign to the Baker Lake Trailhead which you should see on the same side of the road in a very short distance (It’s the next right). Turn right (west) onto Pierce Creek Road (FS 363). At 1.1 miles after leaving the West Fork Road, a road cuts off to your left (southwest). You want to continue straight ahead, just as the sign indicates. Another mile along the road, at 2.1 miles, you turn right onto FS 5634 and the trailhead for Baker Lake. This intersection is signed. Follow it to the end, which is 10.1 miles from your turnoff from the West Fork Road.. There is parking space for several cars, but it’s a tight spot for turning around. The trail begins going immediately uphill at the end of the road. Route DescriptionThe Approach – Trailhead to Baker Lake Beginning immediately at the trailhead, you enter the steepest section of the approach route, when your legs are nice and fresh. Fortunately, the steepness only lasts about 15 minutes, which is about how long it takes to reach Baker Point, an interesting rock outcropping above a field of talus. From this lookout spot, on a clear day, you can see all the way south to the Beaverhead Mountains and east the Pintlers. The first snows of the season highlighted both when I was there last. Soon after Baker Point, the trail begins to level off enough to let your legs recover from your early elevation gain. As the route begins to traverse along the north side of one of Trapper Peaks long ridges, you get your first glimpse of the top portion of the mountain, though what you see is only a false summit. As the trail nears Baker Lake, some nice outcroppings of boulders appear to your right (north) along the trail. Every time I see them I think they would be appealing to those who like Bouldering or want to practice climbing techniques on rocks that are not quite so inaccessible. Not much later as the trail continues to traverse in a westerly direction, your views of Trapper Peak’s east ridge improve immensely. In fact, you should be able to see the ridge on which will be a later portion of your route. If you’re keeping a good hiking pace, less than 45 minutes after leaving the trailhead, you should reach the eastern shore of Baker Lake. Now you have an excellent view of the ridge along which you will hike toward the Trapper Peak Summit. Climbers’ Route – Baker Lake to Trapper Peak From this point until you get fairly close to the gully you will be climbing, there is a lot of bushwhacking through brush, scrub, and deadfall. There is no discernable trail, so you have to pick your own line. From the east shore of Baker Lake, if you look in a southwest direction you will see an obvious gully up to the ridge crest. That is the gully you’re going to use to ascend to the ridge. Rather than stay low until you reach the base of the gully, the shortest line is to reach the gully at a point part way up. Begin by going around the south side of Baker Lake on an obvious trail which is fairly close to the lake. Once you’re near the southwest corner of the lake begin traversing southwest through the heavy undergrowth toward the gully. Work your way uphill, but be careful not to get too high. If you get too high you’ll run into several obstacles, deep cuts in the rock which then must be crossed with plenty of unnecessary down and up climbing. Just keep looking ahead as you fight your way through the brush and you should be able to avoid most problems. By the time you’ve reached 8,000’ of elevation, you should have worked your way past most of the bushwhacking. At this point you will be traversing talus and boulders interspersed with patches of scree. Keep your goal (the gully) in sight as you move forward, avoiding obstacles when you can. As you near the side of the gully, you’re going to be running into more and more scree. In order to avoid it as much as you can, work your way to the left (south), closer to the base of the cliff bands. But, be careful that you don’t get too high or you will find yourself down-climbing to bypass rock outcroppings. From the top of the gully, follow the trail west as it stays fairly close to the ridge’s crest. From time-to-time you will likely lose sight of the trail. Don’t worry. As long as you stay close to the ridge crest as you hike uphill in a westerly direction, you’re not going to get lost. Until you reach tree-line, you will be passing through an open forest with a mixture of Whitebark Pine and larch. There is some deadfall, but not enough to be bothersome. At first the trail is quite easy to follow, but eventually it grows so faint that it is no longer recognizable. Before reaching tree-line, the crest of the ridge makes a slight turn toward the north. The best line is to turn along with the crest; however there is no reason to stay directly on the crest unless you wish to look over the edge. In some places there are talus piles close to the crest of the ridge, piles which can easily be skirted by staying slightly away (to your left) of the crest. Keep in mind that many people have used the “standard” track, some of them not very skilled at route finding. The trail is braided in many places. In fact, there are several “cairned” trails leading toward the summit. Since this is a wide-open area, you’re hardly likely to get too far off track, so it really doesn’t matter which cairns or trail you follow. But, as you near the summit, there are several talus piles which at first appear to be the summit. Too bad, they’re not! To keep your wanderings to a minimum, do the following. Once you are close to the first of the talus piles, begin looking for, what I call "a signpost rock" part way up the left (south) side of one of the talus piles. (Stay on an existing track as you look for it. It’s visible from a long distance away.) Then, if you ignore the trails and cairns "on the ground" and head directly for this signpost rock, your line will be almost directly toward the summit and much shorter than if you try to follow existing trails and cairns. Once you’ve reached the signal stone, you can easily see the summit. Take your own line forward, up the last pile of talus and onto the summit. Essential GearIf you decide to attempt this route in the snow, skis or snowshoes would be helpful. Depending upon the type of snow you may need crampons and an ice axe to climb the gully to the ridge crest. When to GoThis route is viable any time of year, though snow will make it more difficult.The gully is quite steep near the top; I assume it to be prone to avalanche and would never attempt this route until the snow in the chute is very consolidated and stable. Route Statistics |


