-
 12668 Hits
-
 79.78% Score
-
 11 Votes
|
|
Route |
|---|---|
|
|
46.65820°N / 114.246°W |
|
|
Hiking, Mountaineering, Scrambling |
|
|
Summer, Fall |
|
|
Most of a day |
|
|
5.4 (YDS) |
|
|
Strenuous |
|
|
I |
|
|
Overview
Route Type - Scramble Class Level – Class 4 and 5 Elevation – 8,400’ (lowpoint on ridge) to 9,161’ (Sweeney Peak) Gain - 5,534' Distance - 14.5 miles Length of time required to complete route – one day
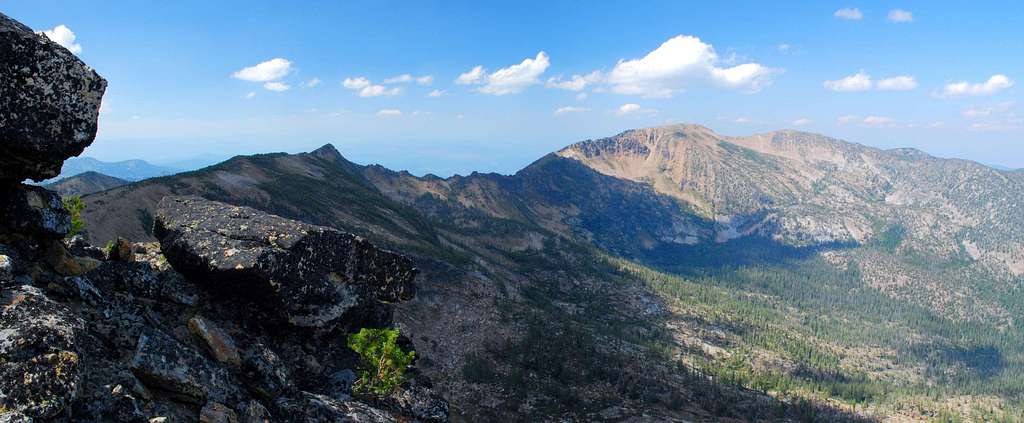
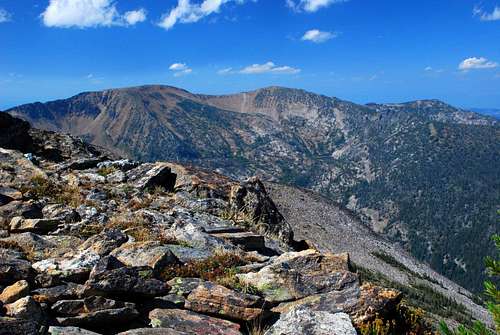
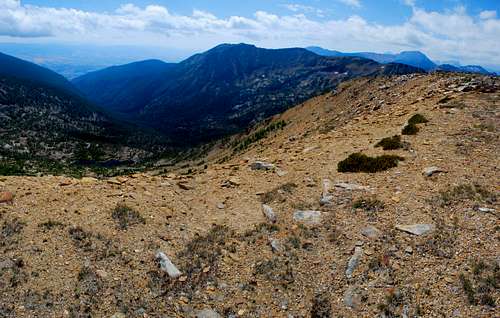
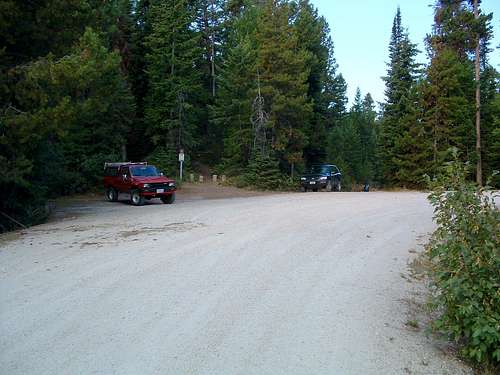
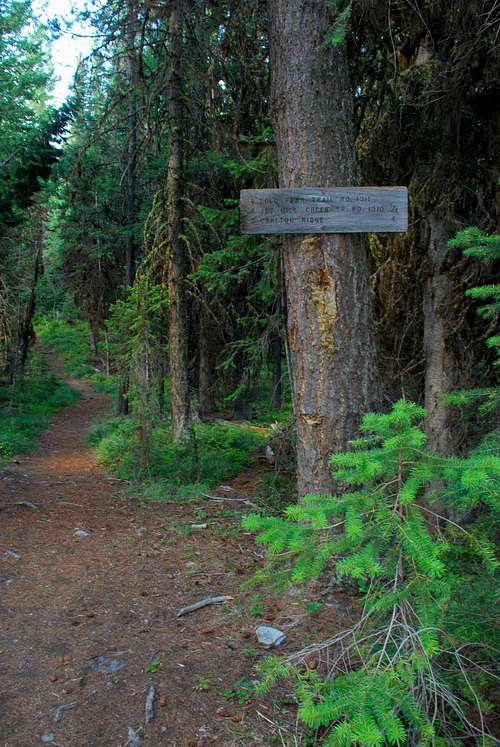
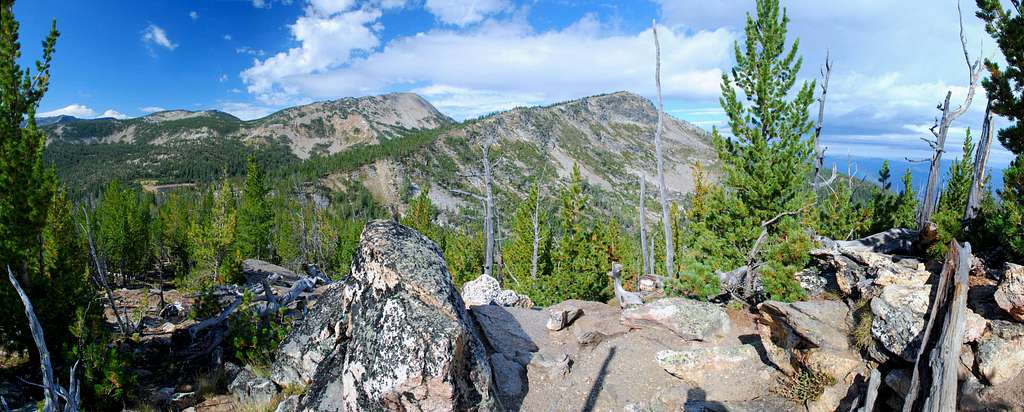
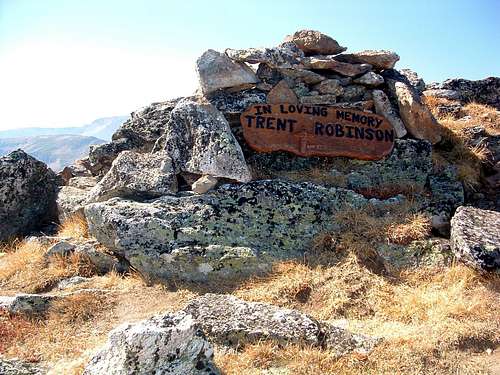
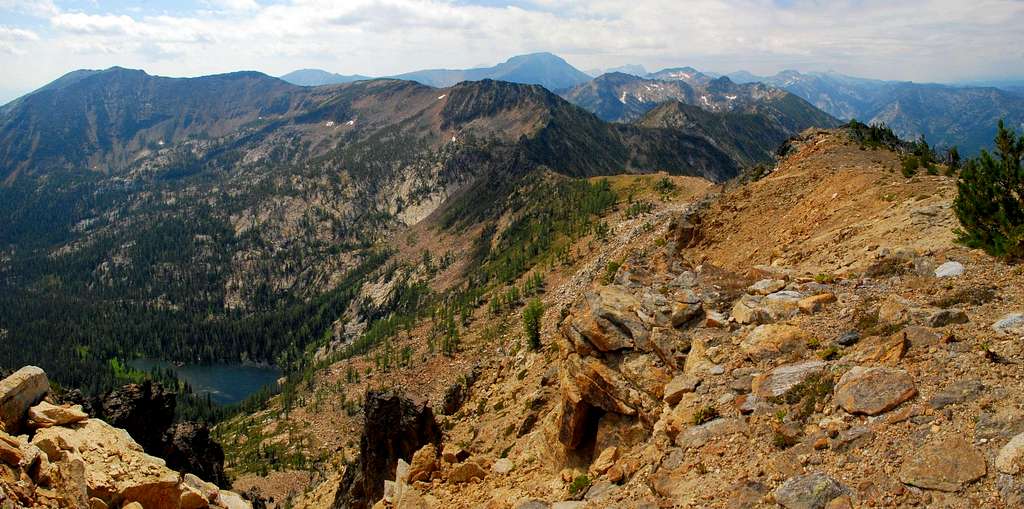
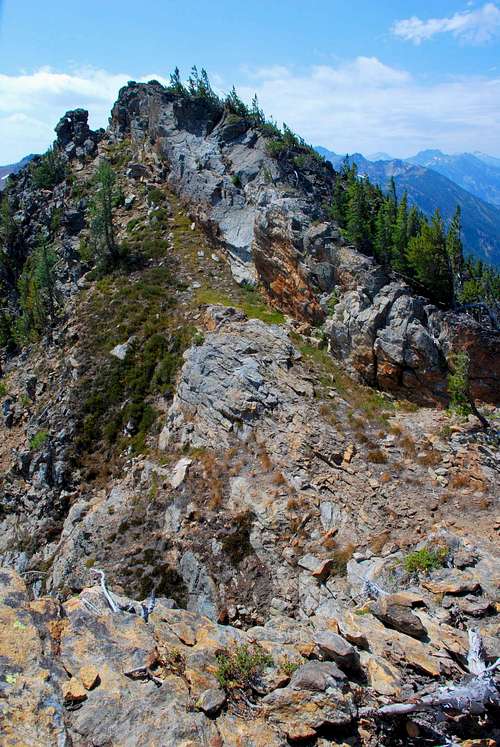
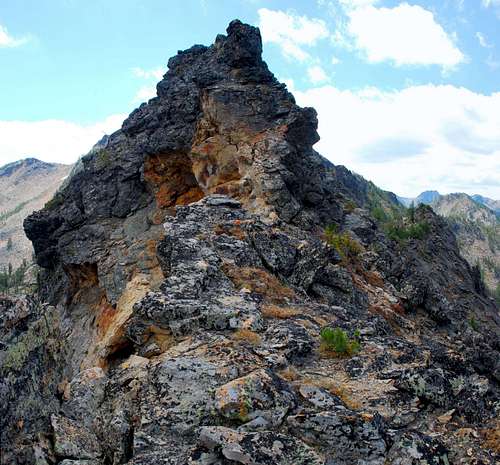
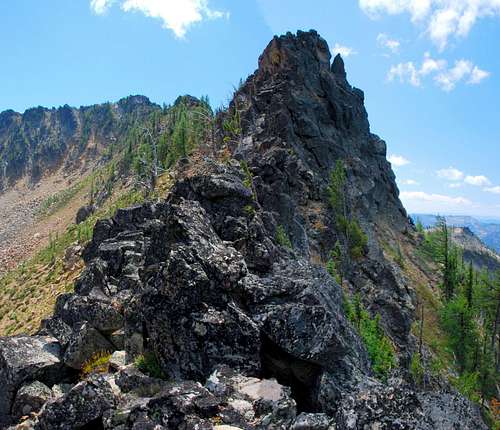
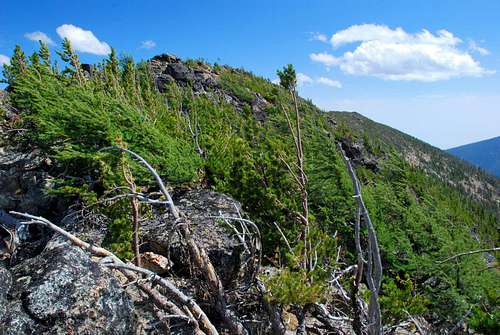
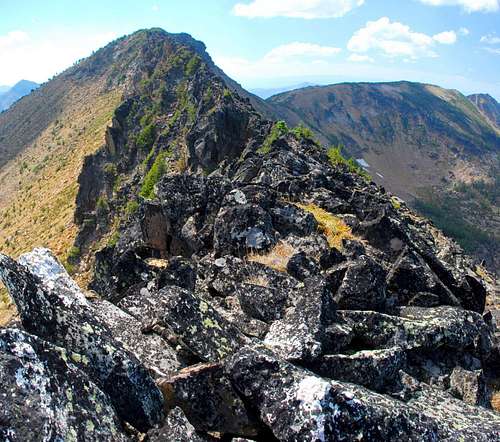
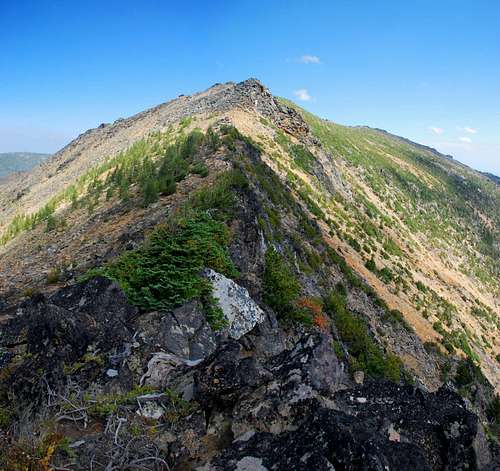
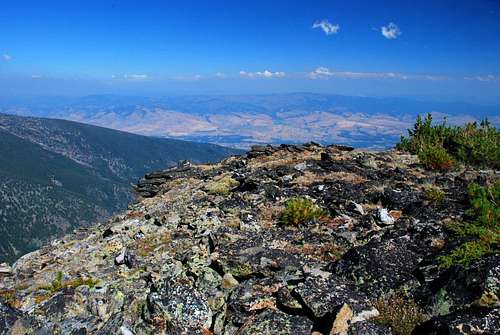
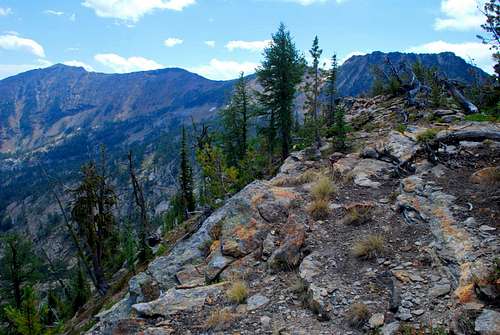
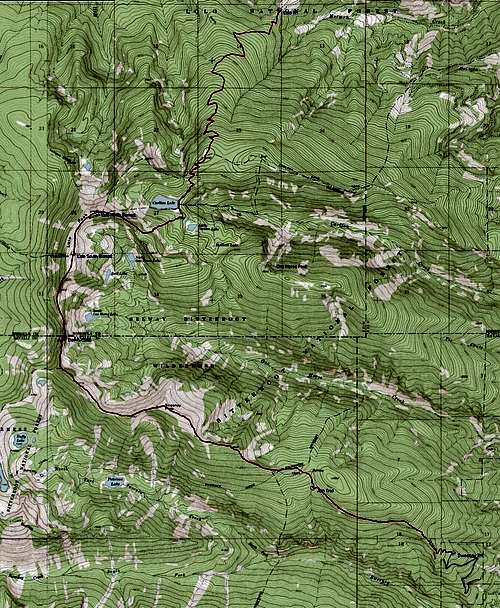
For slightly over a year I’ve wanted to attempt climbing the connecting ridge between Lolo and Sweeney Peaks. As it sweeps south from Lolo before turning east to Sweeney, the ridge forms a wall around a cirque from which the headwaters of Lost Horse Creek flow. Most, but not all, of this 3.5-mile long ridge is visible from both Lolo and Sweeney Peaks. A few small, but key sections remain hidden from view. Having studied the ridge from both Lolo and Sweeney Peaks, I was intrigued. It looked doable for a person of my skill level. I talked to a couple of climbers who said they knew “someone” who had attempted the ridge. Both reported those “someones” had been forced to down-climb from the ridge-crest and that it was a difficult route. I never did talk to anyone who had actually made the attempt. SummitPost has pages for both Lolo and Sweeney Peaks; however here is a little information about each. Lolo Peak is close to Missoula, one of Montana’s largest cities. Because of that proximity, Lolo Peak is one of the most-climbed peaks in the Bitterroots. A proviso with that statement. On my Topo map, Lolo Peak is the label applied to a fairly long north-south section of ridge which includes two highpoints separated by a saddle. The southern summit is the actual highpoint of this section of ridge. But, because the “standard” trail to Lolo Peaks reaches the north highpoint first, few people make the trek over easy tundra to reach the true summit. Sweeney Peak has no “official” trail to its summit. Some consider this good, others (and I am one), not so good. Fortunately there is an “official” trail, that passes close by, which may be used to travel a good portion of the way. However, after leaving that trail, a certain amount of route finding and bushwhacking is required to reach the summit. The route finding is not difficult (if one knows what to look for) and the bushwhacking is minimal through an open woods containing amazingly little deadfall. Most who visit this summit do so when there is snow cover. It’s a popular destination for those who like to back-country ski. Some consider it the best in the area. Getting ThereLolo Peak Trailhead Go west on Hwy 12 from the town of Lolo, MT. After 3.8 miles, turn left (south) onto Mormon Peak Road (612). The repairs to the lower (first) portion of Mormon Creek Road are now complete. Though still the steepest and narrowest section of the road, it is much improved and quite smooth. And believe it or not, the road actually gets better the farther you go. Follow the road for 8.5 miles to a right-turning switchback were the trail begins. There is a sign marking the trailhead. Parking is limited, which I find strange, considering the popularity of the peak. Route DescriptionApproach – Lolo Trailhead to Lolo Peak’s South Summit From the Lolo Peak Trailhead on Mormon Peak, follow the "standard" trail (1311) as it begins a series of ascending switchbacks through a thick woods of Lodgepole Pine. Fortunately, because Lolo Peak is a very popular destination, the trail is well maintained by the Forest Service. Though a sign indicates it is three-quarters of a mile to the Mill Creek Trail (1310) junction, it’s actually closer to a mile. The junction is clearly marked. Stay to the left and continue toward Carlton Ridge. From the trailhead, it is a little less than 4 miles to the Carlton Ridge highpoint, marked with a sign, and exactly 4 miles to the overlook, referred to as Vista Point on the Carlton Ridge sign. From "Vista Point", follow the trail as it turns almost directly east for a short while as it descends to Carlton Lake. Note: There are several obvious places along this section where people have taken shortcuts to and from the lake. Don’t be fooled. It saves time and energy if you stay on the "official" trail. When the trail nears the lake, it joins a very rough access road (used for dam maintenance). As of my last visit (August 10, 2007), there was a new sign clearly marking this junction. Continue south-southwest along the road a short distance to the east end of Carlton Lake at the north end of the dam. When the trail reaches the crest of the ridge (46.68116 N / 114.21587 W, elevation 7,840’), leave the trail and begin ascending the ridge to the southwest, aiming for an obvious saddle. This section of the route is over granite slabs and through a very open woods. Just before reaching the saddle, begin to contour to the right and follow the crest of the ridge northwest toward the north highpoint of Lolo Peak. As the woods thins with elevation gain, the route begins to cross more talus, and, eventually reaches the fairly indistinct tree line. At this point the climbers’ trail becomes more evident, obviously because many feet have traveled this way. Close to the north highpoint is a 3-sided wind shelter built of rocks gathered from the immediate area. It is adorned with a memorial plaque. The actual highpoint is a few feet west of this shelter as indicated by a brass survey marker. Descend southwest from the north highpoint toward a saddle (lower by only 200’) over the tundra covering Lolo Peaks summit area. As you approach the saddle, work your way through stunted flag trees scattered in this often-windy area. From the saddle ascend almost directly south over the broad ridge-crest to the south highpoint, Lolo Peak's true summit. Climbers’ Route – Lolo Peak’s South Summit to Sweeney Peak Summit From the cairn marking the summit, descend south-southwest toward the 3.5 mile long ridge which connects Lolo and Sweeney Peaks. When you reach the southern edge of Lolo’s broad summit area, you are greeted by a down-climb over a jumble of talus and rock outcrops. This section is Class 3 with minimal exposure. Note: I found the best descent path to be on the crest of the ridge with only a few places where I had to move slightly west of the crest to avoid exposure and/or small trees blocking my advance. Eventually you reach an almost-level portion on the ridge-crest just north of Point 8852. Studying this rock outcrop, you will see a nice grassy ledge leading upward just below, and to the east, of the crest which is composed of jumbled rocks. Follow this ledge to its top, then, look to your right (west) for a short Class 3 section (15-20 feet high) which allows you to regain the crest. From there it’s quite an easy down-climb to stay on the ridge-crest. As you continue to work your way down toward the lowpoint of the ridge (46.66163 N / 114.24572 W, elevation 8,400’), stay as close to the crest of the ridge as possible. Most of this portion of the route is Class 2 with only a few Class 3 moves required. Note: At the points where I was forced off the actual crest, I needed only to move 20 or so feet down one side or the other in order to work my way through the stunted trees blocking the path. Fewer than a 1,000’ south of the lowpoint on the ridge is Point 8545, by far the most difficult section of the climb. After studying the jumble of rock blocking the ridge-crest, I decided to drop off the west side of the ridge to avoid what looked to be some extreme exposure (in high gusting winds). With patience, I was able to find a way around the most exposed portions (about 800’ of ridge). But I must admit, in order to stay within 200’ of the ridge-crest (as close as I could manage through this section), at several points I was forced to climb at a Class 5 level. The exposure was not extreme, but if I would have fallen I would probably have broken something. For the most part, this section of down-climbing was in the Class 4 range. Once the ridge is regained, it’s a Class 3 climb southward along the ridge-crest to an elevation of about 8,800’ (46.65479 N / 114.24667 W) where the ridge swings to the southeast. From this point the route requires bushwhacking through a thick growth of stunted and wind-swept Whitebark Pine interspersed with a few Larch. Stay close to the northeast edge of the ridge where the growth is thinner. Fortunately, you’re soon through the trees. From here on to the summit of Sweeney Peak, the going is fairly easy, Class 2 at most. The ridge-crest is broad in most places, and, where rock outcrops block the crest, it requires only a few extra steps to get around them. Note: This connecting ridge is the “fun” portion of the route. It tests your route finding skills up over and through jumbles of rock, plus, requires up to Class 5 climbing. Climbing alone, not always the best thing to do, I was able to cover the entire ridge in just under 2.5 hours without hurrying. Descent – Sweeney Peak Summit to Sweeney Creek Trailhead When you reach tree line, you may be able to pick up the trail (faint and braided in places) as it passes through a mixture of Larch, Whitebark Pine, and Alpine Heather. At Point 8521 (46.64095 N / 114.20322 W), turn to the southeast and follow the ridge-crest downhill. There is a discernable trail through this section. It stays very close to the ridge-crest – a steep drop-off to your left (northeast), a wooded, more gradual slope on your right (southwest). At an elevation of 7,800’, the route (and trail) turns just north of east as it stays close to the crest of the ridge. When you reach an elevation of 7,650’ (46.63735 N / 114.18719 W) leave the now faint trail and turn southeast. Follow this line until you come to a swale (the bed of a very small intermittent stream), then turn almost directly south (with the swale) and hike downhill until you reach the Sweeney Ridge Trail at 7,350’ (46.63391 N / 114.18281 W). Turn left (east) and follow this official trail for two miles to the Sweeney Creek Trailhead. When to GoEssential GearOther than a good pair of hiking boots and clothing appropriate to the current weather conditions, no "special" gear is required for this route. Of course you’re free to carry ropes and protection if you want to “play” on the ridge-crest rocks.You will definitely want to carry plenty of food and water. This route is a long haul. Route Statistics
|


