
-
 5549 Hits
-
 72.08% Score
-
 2 Votes
|
|
Route |
|---|---|
|
|
46.70255°N / 60.59859°W |
|
|
Hiking |
|
|
Fall |
|
|
A long day |
|
|
Overview - White Hill - High Point of Nova Scotia - Cheticamp Flowage Approach
The Cheticamp Flowage approach to White Hill is the shortest route. It’s the only route I have personal experience with, so I’m unable to compare the various challenges to the other longer approaches. None of this route is on currently maintained trail. Most of the distance is on old overgrowing roads. If it weren’t for the moose, these trails would be reclaimed by the vegetation at a faster rate.White Hill is located in Cape Breton Highlands National Park on Cape Breton Island and is the high point of the Canadian province of Nova Scotia. Best described as remote, there are no maintained trails leading to the summit. Nor can it be described as a mountain; it barely qualifies as a hill. It is the high point of a large highlands area, in an area labeled on the topo map as North Barren. The Cape Breton Highlands are an extension of the Appalachian Mountain Chain.
![White Hill Map]()
White Hill Map printed from caltopo.com
![Trailhead Parking]()
We parked in a clearing where the access road meets the minor road that goes along the edge of the canal.
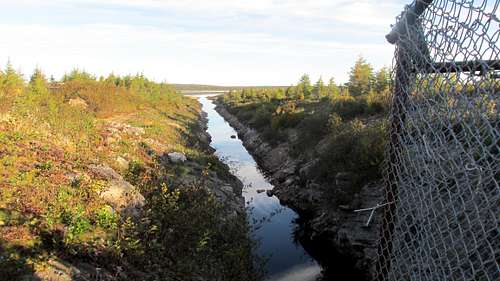
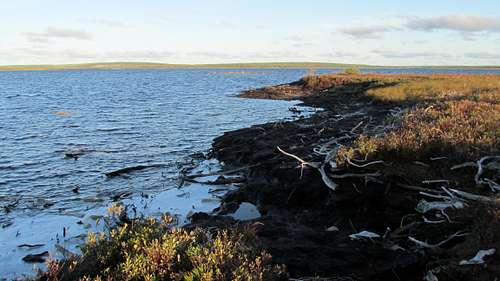
![Outlet Canal]()
The sides of the outlet canal are cut steeply into the rock
![Downstream]()
Farther downstream the outlet canal widens into a rocky stream
![Testing a rock crossing]()
Testing a rock crossing
![Control Structure]()
This structure is on top of a dam that crosses the canal
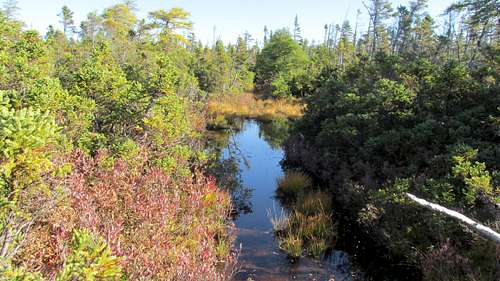
![Canal]()
Looking towards Cheticamp Flowage from the control structure
![Pulling the boat back]()
Pulling the boat back. After first paddling across, we used rope to return the boat for MountainHikerette.
![Boat]()
Looking back to where the road leads to the beach on the west side of the canal entrance
A big reason to go with the boat is it puts you in a much better place on the other side. After crossing and stashing the boat we were next to the shoreline of Cheticamp Flowage. The other options require additional time-consuming bush whacking and swamp slogging to get to the shoreline.
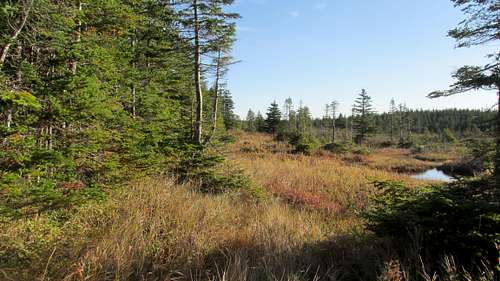
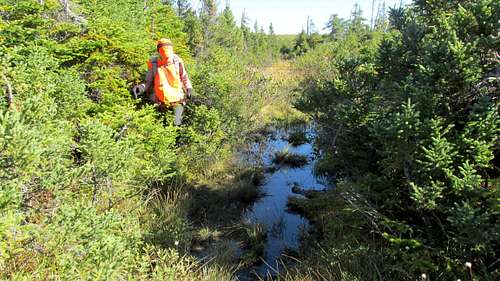
![Cheticamp Flowage]()
Cheticamp Flowage. The shoreline is varied in the surface conditions.
![Driftwood]()
Interesting Driftwood Feature
![Point]()
A point of land where it was best to leave the shoreline
![Beach]()
A stretch of sandy beach![Approaching drainage clearing]()
Approaching drainage clearing where the lake is left behind
At what could be called the northeast corner of the lake, you leave the shore and head inland. There are a couple choices on route.
![Heading Inland]()
Heading inland, stay mostly to the edge of the clearing to be above the swamp
The NTS topo map shows the old road coming out almost to the shoreline. Beware. The map is off. To find the old road, you need to follow the drainage clearing inland over a couple hundred meters. The road is apparent from the clearing if you find it. I can’t testify on the condition of this part of the route since we traveled a different route.
![Old Road]()
Old Road
![The Wide Clearing]()
The survey cut-line is to the left when you get to this wide clearing
![Survey Cut-line]()
Survey Cut-line
![Survey cut-line]()
Survey cut-line
Although the footing is solid the survey cut line is your introduction to smashing through overgrown foliage. The opinion of the Dept of Natural Resources is vegetation is to be left in its natural state. As far as they are concerned the wild can reclaim these trails. I guarantee you won’t have near as charitable opinion of the plant life during your hike.
![Survey Cut Line]()
Survey Cut Line
![Old Road]()
Old Road![Old Road]()
Old Road
![Water Feature]()
Water Feature
![Dry Stretch]()
Dry Stretch
![Alders]()
Alders![Stream Crossing]()
Stream crossing
![White Hill]()
White Hill can be seen off to the left approaching North Barren
![North Barren]()
North Barren intersection
![North Barren Marker Stone]()
North Barren Marker Stone
![White Hill Lake]()
White Hill Lake
![The Road]()
The Road
![Nasty Water Crossing]()
Nasty Water Crossing
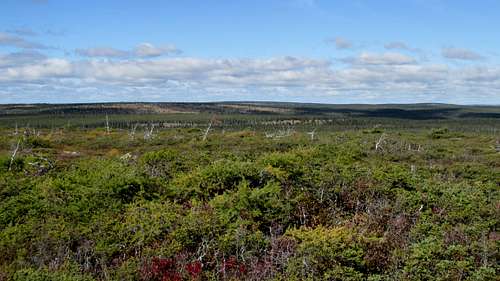
![White Hill]()
White Hill
![Leave Road]()
Marking a waypoint where we leave the road
![Thick Trees & Bushes]()
Thick Trees & Bushes
![Past the Thick Brush]()
Past the Thick Brush
![Low Bushes to Summit]()
Low Bushes to Summit
![Lichen]()
Lichen![White Hill Lake]()
White Hill Lake can be seen to the left while approaching the summit
![Looking Back]()
Looking Back
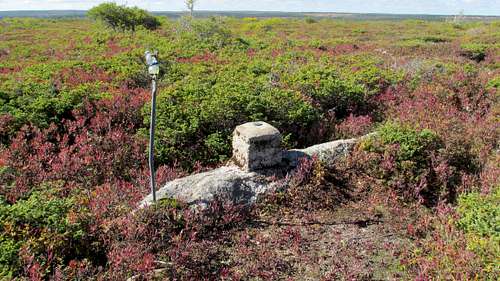
![White Hill Summit]()
White Hill Summit
![Fallen Antenna Tower]()
Fallen Antenna Tower![The Antenna Tower]()
The Antenna Tower![Survey Triangulation Station]()
Survey Triangulation Station
Keep in mind that unlike a mountain, the return journey will likely take as long as the way in.
![White Hill Summit Rock]()
White Hill Summit Rock
Cape Breton Highlands National Park: http://www.pc.gc.ca/eng/pn-np/ns/cbreton/index.aspx
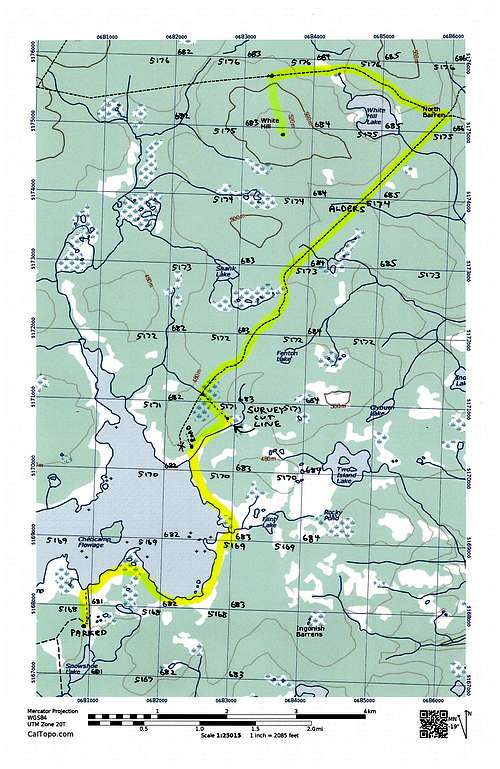
White Hill Map printed from caltopo.com
Getting There
The trailhead is on the south side of Cheticamp Flowage and the west side of the outlet canal that flows to Snowshoe Lake. We parked in a clearing where the access road meets the minor road that goes along the edge of this drainage. See the parent page for directions to this trailhead.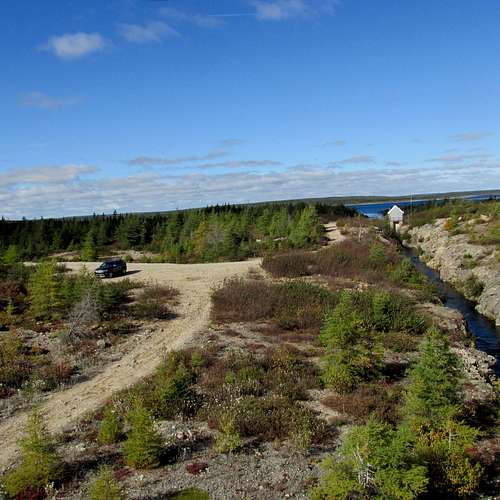
We parked in a clearing where the access road meets the minor road that goes along the edge of the canal.
Route Description

The sides of the outlet canal are cut steeply into the rock
The first obstacle is to get across this outlet canal. One option is to travel downstream (south) to where it is more of a stream than a canal.
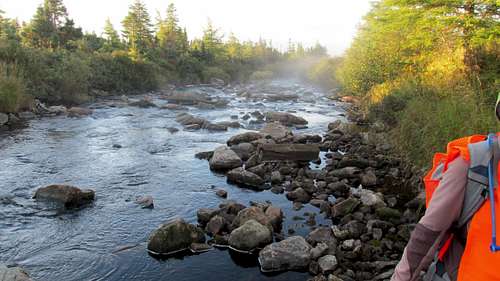
Farther downstream the outlet canal widens into a rocky stream
Then depending on water flow and your tolerance for rock crossings you might find a place to cross without getting your feet wet.
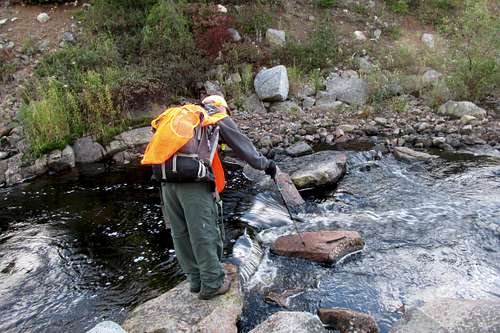
Testing a rock crossing
On our first trip in 2015 we lost time by trying this first and not liking the look of some committing long steps we’d have to make.
Another option is to cross at the water control station. That is officially not allowed. There are No Trespassing signs and a tall fence. In 2015 the fence showed signs of several people having climbed it. The wire on the top was pushed around to make it more passable. In 2016 this damage to the fence had been repaired.

This structure is on top of a dam that crosses the canal
That brings us to the option we went with in 2016. Crossing the canal by boat. At the north end of the canal, near where it meets the lake, the canal widens. More importantly it now has a normal shoreline instead of the steep rock wall sides of the canal.
Looking towards Cheticamp Flowage from the control structure
This is where we launched our inflatable boat. For about $30 at Canadian Tire my brother found this boat on sale and had it waiting for us at my sister’s place.
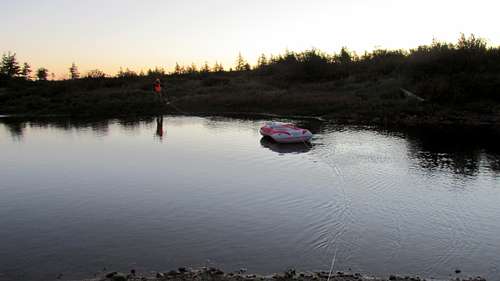
Pulling the boat back. After first paddling across, we used rope to return the boat for MountainHikerette.
Since this boat was basically a small water toy we choose to cross separately. I rowed across first. Then MountainHikerette pulled the boat back by one of the attached lines. I then pulled her across. Disclaimer: I make no representation of any Canadian boating regulations. Research for yourself what regulations might apply to any craft you arrive with.
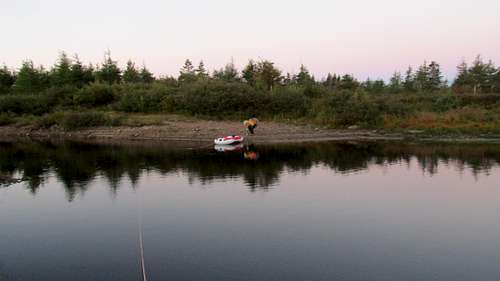
Looking back to where the road leads to the beach on the west side of the canal entrance
A big reason to go with the boat is it puts you in a much better place on the other side. After crossing and stashing the boat we were next to the shoreline of Cheticamp Flowage. The other options require additional time-consuming bush whacking and swamp slogging to get to the shoreline.
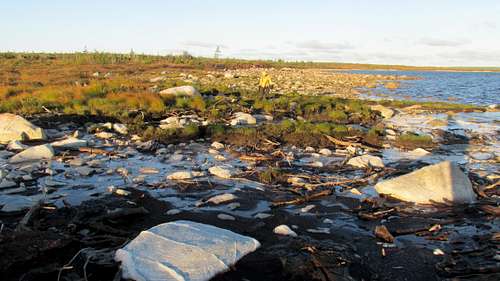
Cheticamp Flowage. The shoreline is varied in the surface conditions.
On the south shore of Cheticamp Flowage follow the shoreline around to the northeast side. Here you leave the lake shore and work your way to an old overgrown road that heads to North Barren. Since Cheticamp Flowage is a lake controlled by a dam I can’t guarantee what the water level will be for you. It was basically the same for us on our two trips in October of 2015 & 2016.
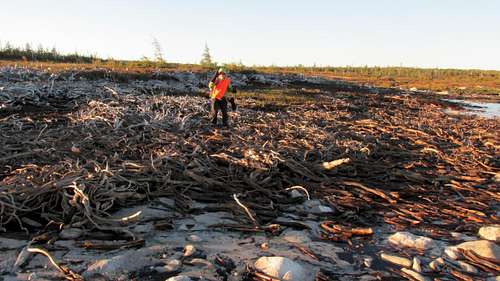
Interesting Driftwood Feature
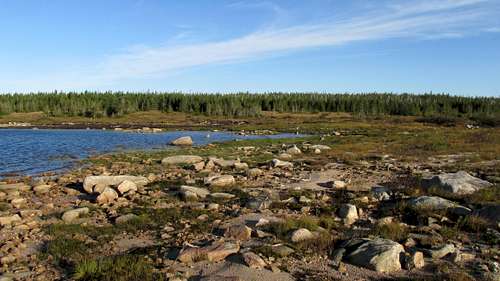
Most of the lake shore was easier going for us than the swamp infested overgrown land. Calibrate your eyes for spotting the firm versus the soft. Some stretches are over some large rocks. Since you’re reading this on summitpost you’ll probably find those easy to deal with.
A point of land where it was best to leave the shoreline
We found when there was a point of land the shoreline tended to narrow and get muddy. So it was best to cross the point and practice your swamp skirting skills. Another interesting place had a bunch of driftwood to cross. Not a big deal, just be careful with your footing. There are a couple stream crossings. Just look around and find where it makes sense to step across.
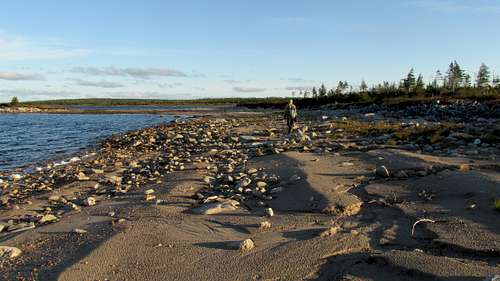
A stretch of sandy beach
Approaching drainage clearing where the lake is left behind
At what could be called the northeast corner of the lake, you leave the shore and head inland. There are a couple choices on route.
Heading inland, stay mostly to the edge of the clearing to be above the swamp
The NTS topo map shows the old road coming out almost to the shoreline. Beware. The map is off. To find the old road, you need to follow the drainage clearing inland over a couple hundred meters. The road is apparent from the clearing if you find it. I can’t testify on the condition of this part of the route since we traveled a different route.
Old Road
Follow the drainage clearing farther inland to a survey cut line. We followed the drainage along the left side (going upstream) staying mostly at the edge of the trees. We were forced away from the trees on occasion to go around ponds, but returned to the forest edge to avoid getting swamp stranded.
The survey cut-line is to the left when you get to this wide clearing
The survey cut line doesn’t exactly jump out at you, but it is apparent when you look at it. Use my coordinates to be able to look at the right place.
Survey Cut-line
Like the old road, the cut line is also overgrown, but since it goes over a small hill, the ground is mostly solid. This survey cut line seems to correspond to the park boundary and was perhaps cut more recently than the road.
Survey cut-line
Although the footing is solid the survey cut line is your introduction to smashing through overgrown foliage. The opinion of the Dept of Natural Resources is vegetation is to be left in its natural state. As far as they are concerned the wild can reclaim these trails. I guarantee you won’t have near as charitable opinion of the plant life during your hike.
Survey Cut Line
Follow the survey cut line northwest until you intersect the old road. The road itself won’t jump out at you, but watch for it when you get to a bit of a clearing.
Old Road
Old Road
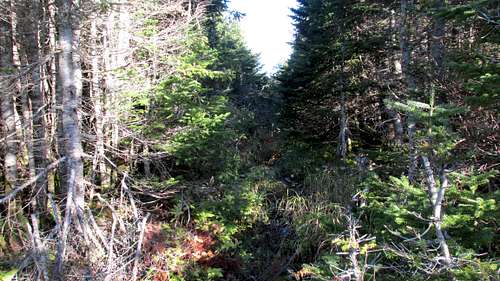
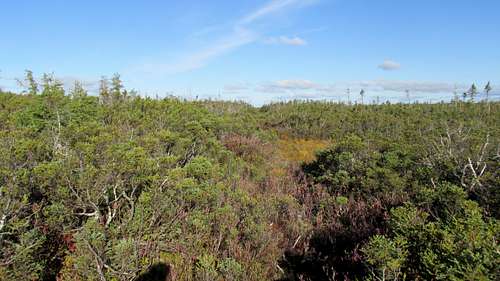
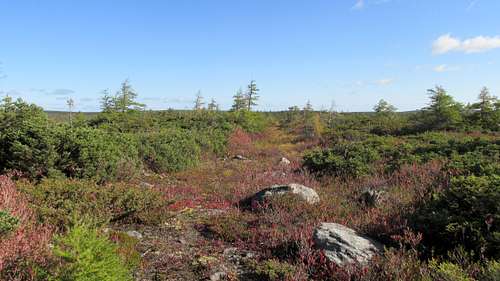
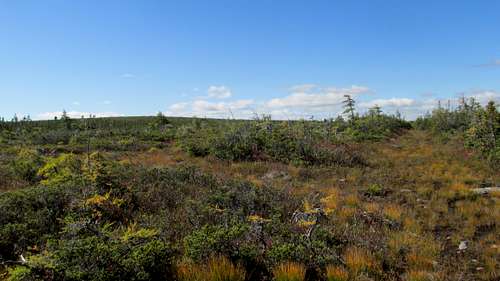
The simple instruction is to follow this old overgrown road northeast (turn right) until you come to the intersection at North Barren. The pictures show the reality. There are some good stretches,where the footing is solid and the trees and bushes haven’t been as enthusiastic with reclaiming their birthright.
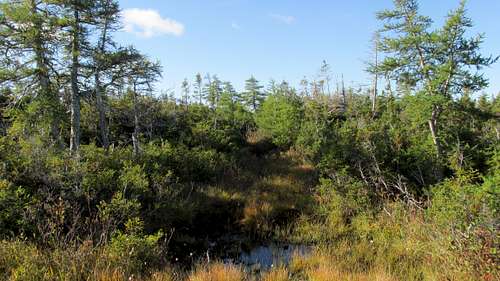
Water Feature
But water is a constant reality. Several stretches of road are underneath water just deep enough you don’t want to walk in it. That means hanging onto bushes while trying to walk of the sides of these ponds. Sometimes the bushes have enough gaps for you to skirt away from the road and come back. Often leaving the road means encountering barriers of intertwined bushes that force retreat. And there are a few stream crossings that might mean looking for the best long step across. And sometimes the footing is soft enough to force quick walking so avoid sinking in the mush.
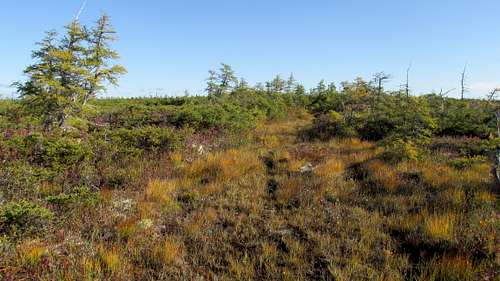
Dry Stretch
Through all of this the road can be followed, that is until you encounter the alders. I labeled the map for where you’ll encounter the alders. The alders obliterate the road completely. I’m sure if this route were followed a lot, someone would find a way around the alders, mark it, and then a new path could develop. But that’s not the case. You’ll have no choice but force your way through a few hundred meters of alders until they relent, and then find the road again. Mark a waypoint before pushing into the alders, and use your GPS & compass to find your way back to the track of the road. The waypoint I provide is for the north side of the alders. I recommend storing that waypoint as a backup in case you have trouble re-finding the road.
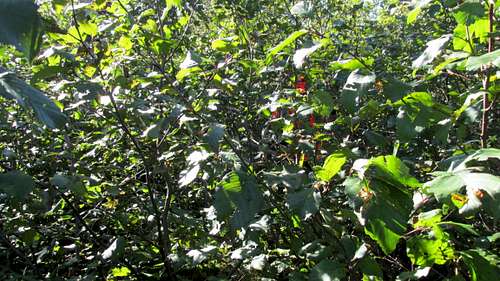
Alders
There are a couple streams crossings. Those are generally not an issue compared to all the other places where the road is under water with bushes blocking easy skirting.
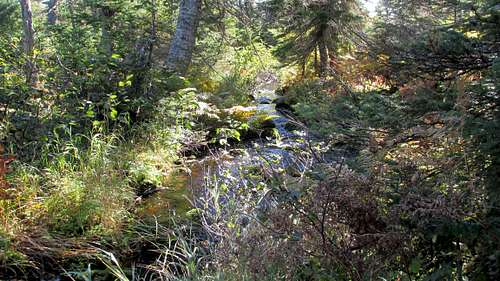
Stream crossing
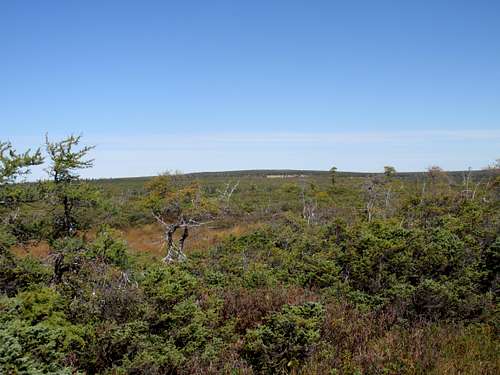
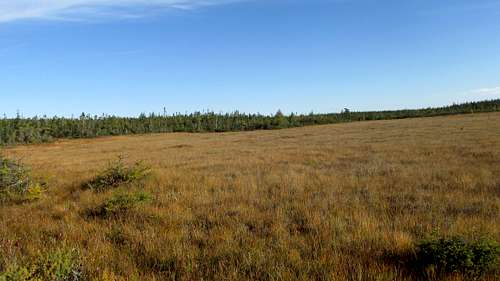
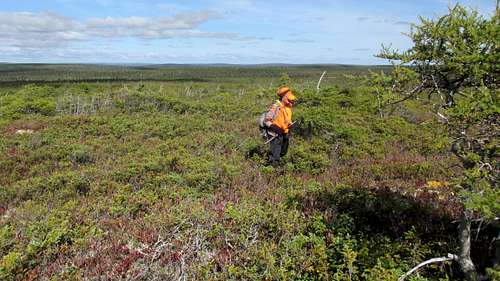
White Hill can be seen off to the left approaching North Barren
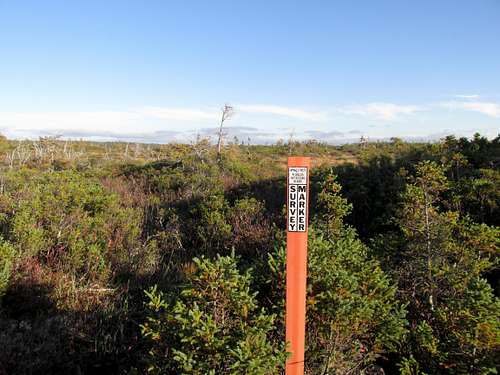
North Barren intersection
The intersection at North Barren has a small stone marker. Here turn left to head generally west to the north side of White Hill.
North Barren Marker Stone
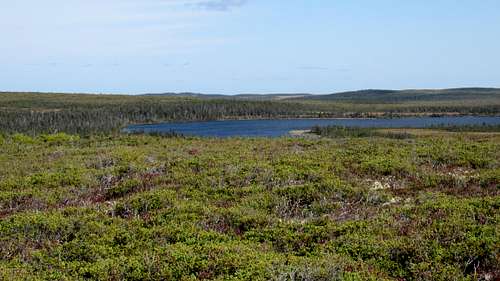
Be careful of some game trails that veer left down towards White Hill Lake. But if you resist following those, and keep your eyes peeled, you should be able to follow the road as it passes north of the lake.
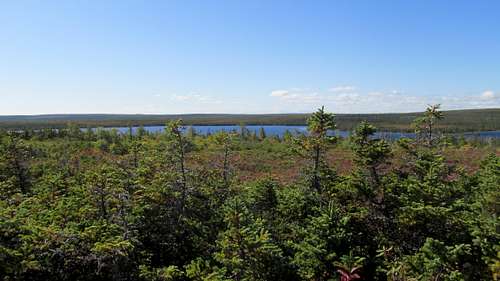
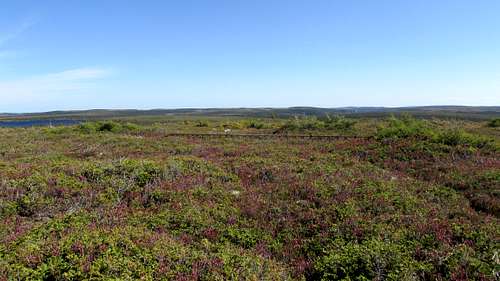
White Hill Lake

The Road
The map shows a drainage flowing south towards the northwest corner of the lake. It was in this vicinity we encountered the most obnoxious water hazard of the day. The bushes on each side formed a virtually solid barrier. The sides of the water hole disappeared under the bushes in critical places. After several foiled attempts we managed to smash, grab and swear our way to where we could finally get across. Expect to get scratched, bruised, muddied, have clothing tears and plant parts embedded in your paraphernalia.
Nasty Water Crossing
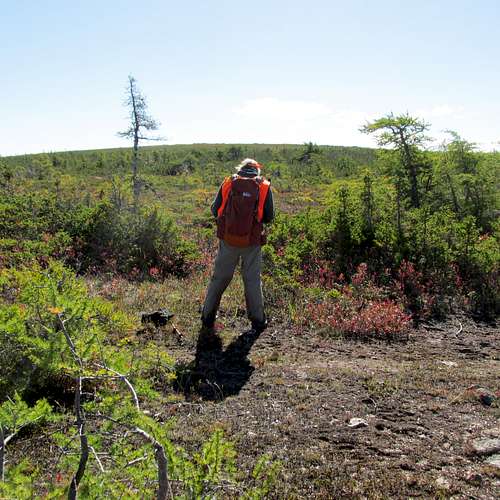
Crossing this obstacle was a physiological victory. Looking at the map, I was optimistic we were leaving the worst of the soggy crap behind. Where the bushes were lower we could see White Hill rising to the left. It was just a matter of following the road until we reached the most efficient place to head cross-country. I also had hope the higher ground would be drier and not as choked with trees and bushes.
White Hill
As the road passes north of White Hill start watching for a break in the bushes. Also, for efficiency and staying above wetness let the road gain as much elevation as it’s going to.
Marking a waypoint where we leave the road
I recommend using some flagging to help with your return. Be sure to clean the flagging on the way out. We found a clearing and went for it. Unfortunately it didn’t take long to encounter a thick stand of trees and bushes. We made use of what gaps we could, but the gaps closed and we just had to force our way through. Plan on more bruises and scratches! After maybe a couple hundred meters of thick bush we broke through to the other side.
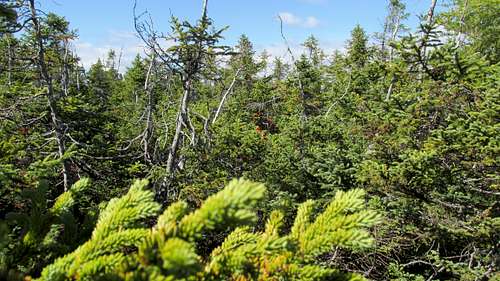
Thick Trees & Bushes
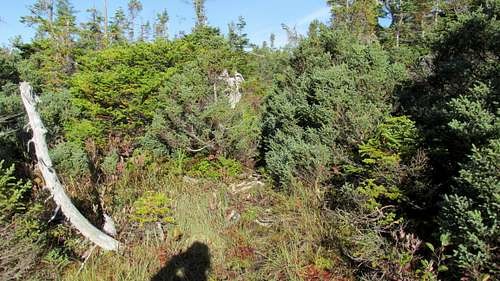
After this barrier is just a matter of navigating through the lower bushes the rest of the way to the summit.
Past the Thick Brush
Keep going uphill in a generally southern direction and you’ll get there.
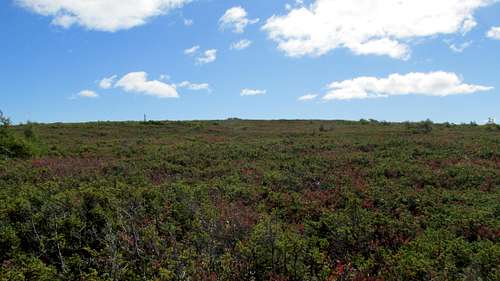
Low Bushes to Summit
You’ll notice a few different types of ground cover. Low but thick bushes best skirted, low but easy to push-through bushes and soft lichen patches. Any of these feature holes. I fell down multiple times from stepping in holes on this last stretch to the summit.
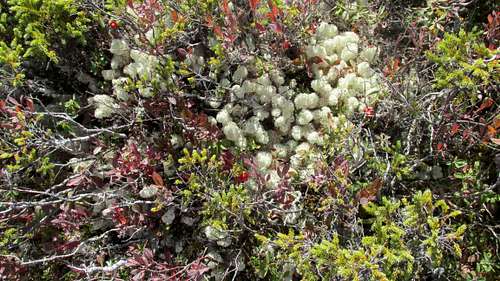
Lichen
White Hill Lake can be seen to the left while approaching the summit
Looking Back
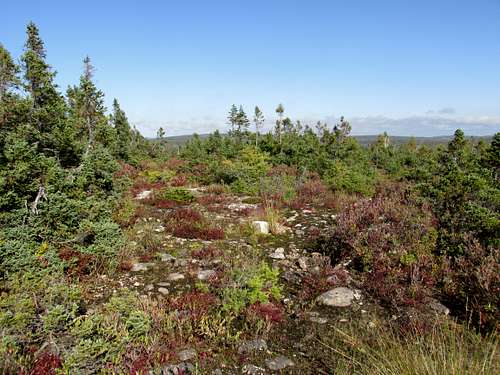
The summit is a broad area. Keep your eyes peeled for a long narrow rock that sticks up from the bushes. The rock features a survey monument mounted on top, and at one end a metal pole sticking up chest high. Somebody tie-wrapped a plastic drink bottle to the top of the metal pole.
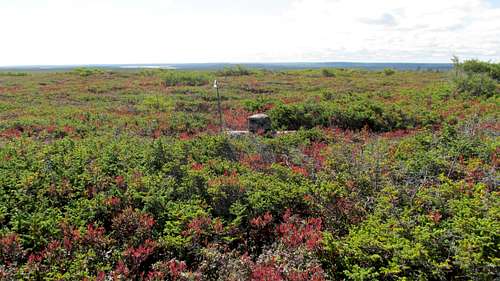
White Hill Summit
Near the summit to the east is an antenna tower lying on its side.
Fallen Antenna Tower

The Antenna Tower
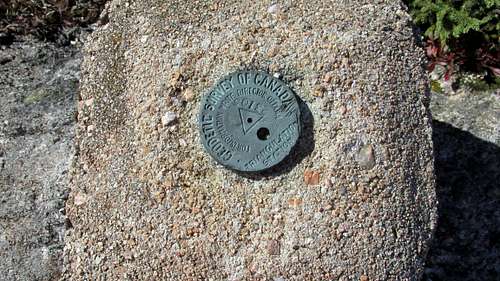
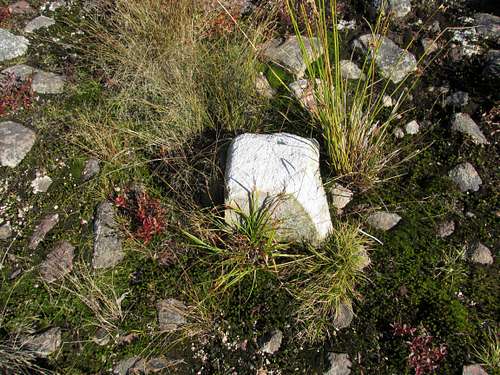
Survey Triangulation Station
Keep in mind that unlike a mountain, the return journey will likely take as long as the way in.
White Hill Summit Rock
GPS Waypoints WGS 84 UTM Zone 20 Latitude Band T Elevations in Metres
680952 5167722 475 Parking
680985 5168154 463 Cross canal in boat
682327 5170134 460 Leaving lake shore
682399 5170326 473 The start of the road near the lake
682899 5170781 477 Survey cut line meets drainage
682577 5171103 483 Intersection of survey cut line& road
684724 5174020 472 Alders
685932 5175306 475 Intersection of roads at NorthBarren
683396 5175804 491 Leave Road
683577 5174911 526 White Hill summit
Essential Gear
A small boat is recommended. Strong navigation skills with map, compass & GPS. You probably won't see anyone else all day so a Satellite SOS like a SPOT. Sturdy hiking boots that can take getting wet & muddy. A headlamp! Be sure to file your hiking plan with the National Park.External Links
CalTopo: https://caltopo.com/map.html#ll=46.6759,-60.60171&z=13&b=t&o=r&n=0.25Cape Breton Highlands National Park: http://www.pc.gc.ca/eng/pn-np/ns/cbreton/index.aspx