-
 9880 Hits
-
 77.48% Score
-
 8 Votes
|
|
Route |
|---|---|
|
|
45.95842°N / 114.33598°W |
|
|
Mountaineering, Scrambling, Skiing |
|
|
Spring, Summer, Fall, Winter |
|
|
One to two days |
|
|
Class 3 |
|
|
Very strenuous |
|
|
I |
|
|
Overview
Route Type – Scramble Class Level – Class 3 Elevation – 9,883’ Gain - 5,188' Distance - 6.8 miles (one way) Length of Time Required to Complete the Routes – One or More Days
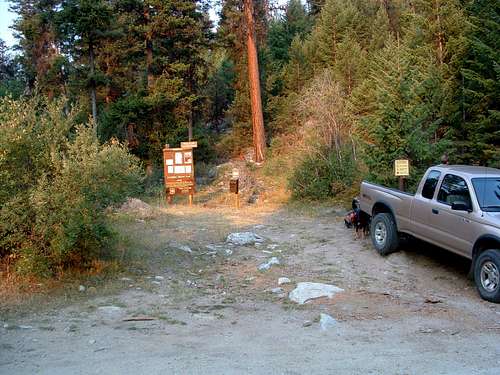
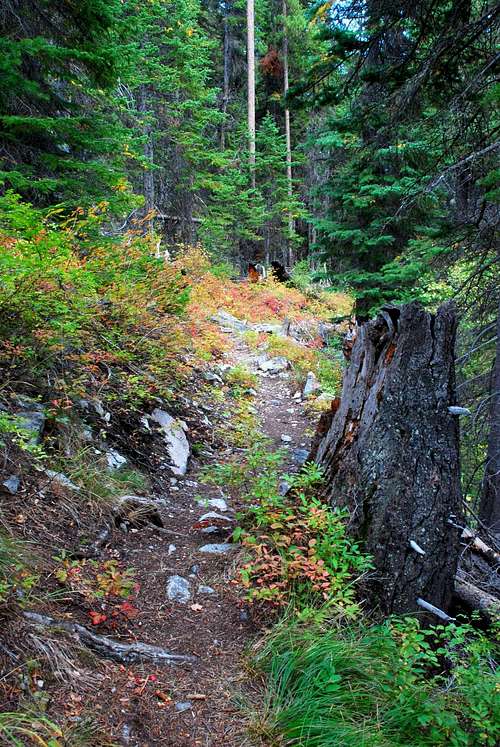
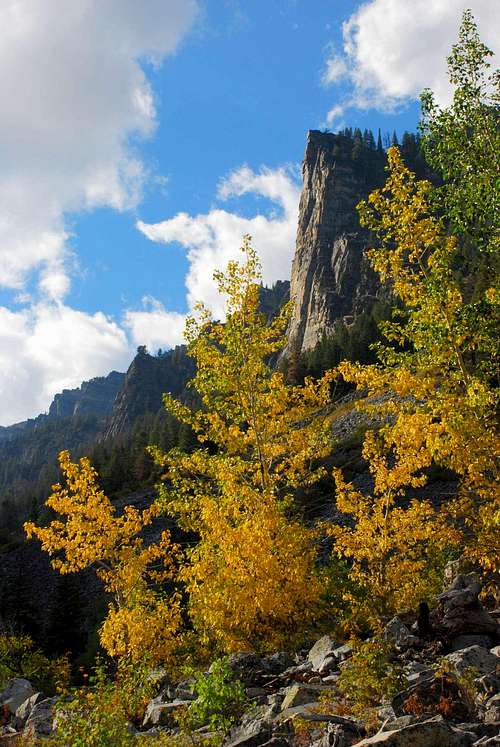
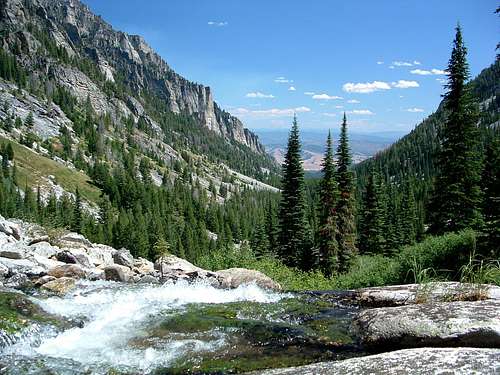
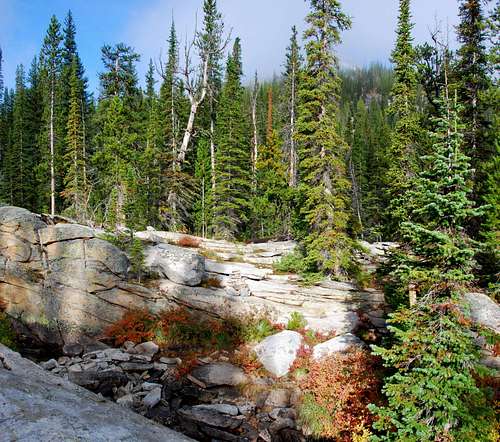
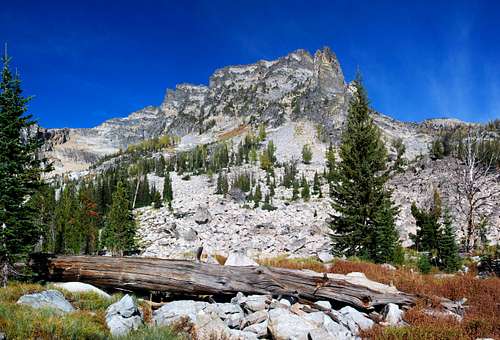
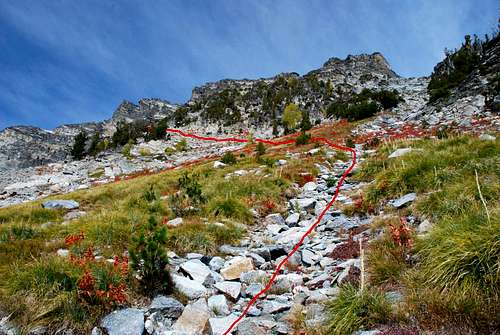
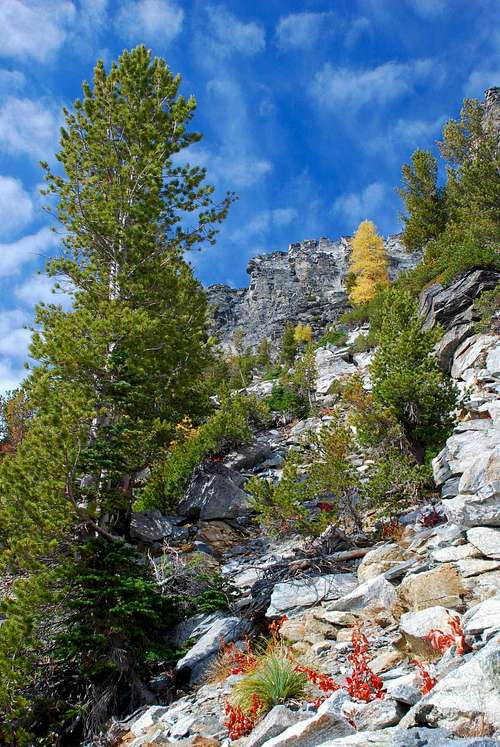
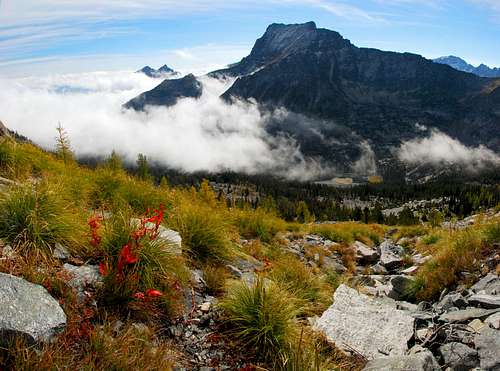
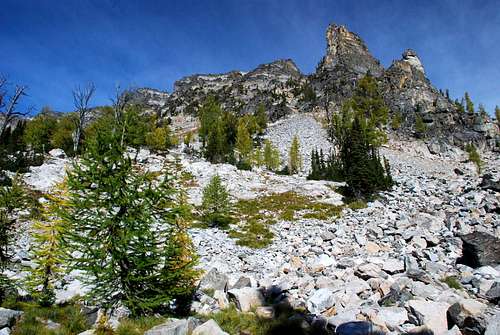
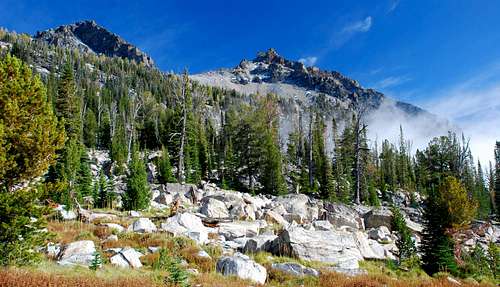
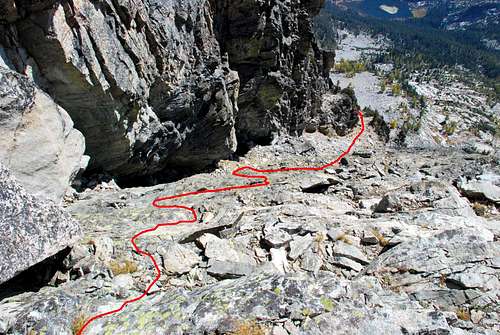
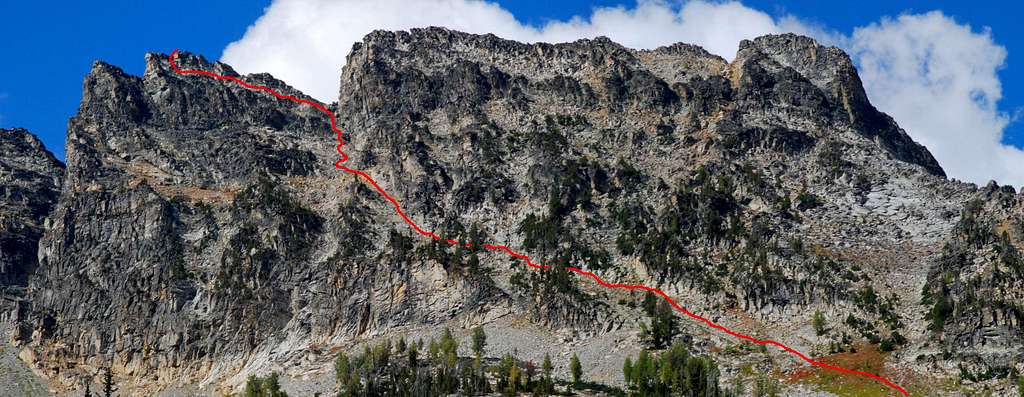
Note: Because of increased exposure just before the route reaches the crest of the ridge, some may consider climbing in that section to be Class 4. I did not, but realize the classification is a matter of opinion. The Shard is the highpoint of the ridgeline separating the Chaffin Creek and Tin Cup Drainages. As the ridgeline swings south then east from The Shard, it forms the cirque from which the Chaffin Creek headwaters flow. Getting ThereChaffin Creek Trailhead Drive south on Hwy 93 from Darby, MT for about 4.5 miles. Turn right (south) onto the West Fork Road (473). Go only about 100 yards, then turn right (southwest) onto Tin Cup-Chaffin Road (not signed – first road to the right). Continue for about 2.8 miles to an unmarked junction and stay to the right (continuing westward). Drive a little over a mile to the trailhead which is located at a right-turning switchback. The trailhead will be on your left (west). There is limited parking space, though people sometimes just park along the road. There are no restroom facilities. RouteAnyway you look at it, it’s a long way from the trailhead to The Shard. The three routes (listed on SP) range in mileage from 6.8 to 8.1 miles - one way. Because each route requires an elevation gain of about a mile, it makes sense to break the routes into two portions, the approach and the ascent. If you have the stamina to combine them, go for it. Otherwise, I suggest establishing a base camp at the end of the approach and a getting a night’s rest before tackling the ascent.Approach - Chaffin Creek Trailhead to Hart Lake From the Chaffin Creek Trailhead, head west through some stately ponderosa pine and douglas fir along a well used trail. The recently maintained trail stays just north of Chaffin Creek as it makes its way westward along the bottom of the drainage. For the Bitterroot Mountain area this trail is gentle as it gains just over 1,800’ of elevation in the first 4+ miles. At about 4.3 miles you will have finished a series of switchbacks up the north side of the drainage and reached an elevation of approximately 6,750’. You will be on a grass-covered moraine just south of and below the largest gully up the north side of the canyon (45.95584 N – 114.30217 W). From this point the trail proceeds downhill for a short distance as it approaches a crossing of Chaffin Creek. This crossing of the creek is on slab rock through the upper portion of a falls and can be extremely dangerous during high water. Be careful! In fact, if there is high water, the best bet is to go off-trail and climb uphill above the falls along the north side of the stream until you find a safe place to cross. Then backtrack along the south side of the creek until you find the trail. It’s better to walk a little farther than to risk your life. About a mile after the first crossing of Chaffin Creek Falls, and, after crossing it once more, you will almost be at Hart Lake. There are several camp sites spread around the shore of the lake and it’s a good place to set up camp or at least take a break. From the east end of Hart Lake go northwest uphill into the woods. Though it looks thick from a distance, I found the woods fairly open and easy to hike through. At round 7,850’ (45.95126 N – 114.32429 W) the route leaves the trees and reaches the low edge of a field of talus and boulders interspersed with trees. Continue up and over the rocks in a northwesterly direction. As you proceed, the view of The Shard’s summit ridge becomes clearer. Unless the ground is covered with snow, you will eventually be able to see a small patch of grass (it’s much larger than it looks from a distance) toward the east (on your right) end of the summit ridge. Continue traveling northwest, directly for that patch of grass. When you reach the patch of greenery somewhere around 8,600’, veer slightly to the left and traverse across the grass until you reach a small streambed (dry except during the spring melt) filled with stable talus, that intersects the large patch of Beargrass. Because the footing on the talus is far superior to that on the Beargrass, follow the streambed uphill. At around 8,700’ (45.85461 N – 114.33011 W) you should be close to a couple of patches of winter-stunted trees and the lower edge of some cliff-bands. Turn directly west and traverse on the grass, staying below the cliff-bands. When you reach the edge of the grass, continue west on rock mixed with scree (I found the scree to be surprisingly stable). As you proceed west, you’ll find the track running along a small ledge which becomes more well-defined as you progress. Following this ledge as it traverses upward across the south face of The Shard is the key to keeping this route non-technical. This is a good place to stop and look around. The views from this area are great! Continue along the ledge up and over a few large boulders as it meanders northwest and west up the face of the mountain. The climbing in this section is no more difficult than Class 2. (Many think of a ledge as being only a few inches, or at most, a few feet wide. In some places this ledge is wide enough to build a road on!) At one point the ledge appears to be blocked by a few rock outcrops, but there is a clear path upward in a gully. There is some loose rock in this gully, but only a little. Proceed upward in the gully, traversing to your left (west) as you go. Toward the top of the gully, there is an obvious opening in the rock outcroppings which allows for easy passage. Climb west through the opening (which is so easy and obvious, you may not even notice its existence), around and below the wall of the cliff above and begin climbing upward (directly north). By now you should have noticed the route is climbing directly toward the bottom of a large notch in the summit ridge. As the incline increases, the track reaches a section of steep slab granite. These slabs require the most difficult climbing on the route. Again, these slabs are steep. The route up and over them is exposed; however there is a series of small ledges (in some cases only inches wide) which switchback up their face. Note: I felt comfortable following the ledges up the face of the slabs, so considered it to be only Class 3 climbing. But, I realize some may be affected by the exposure more than I (especially during the descent) and consider it to be Class 4. As you near the top of the slabs, you will still be below the ridge-crest and the bottom of the notch. Look to your left (west) for a series of ledges working their way through very stable boulders and talus. (There is no need to go all the way to the ridge-crest unless you want to look over the north side of the mountain from this vantage point.) Leave the slabs onto the ledges and pick a line with which you feel comfortable. There is no “correct” line here as everything goes around the summit and ends up in the same place on its southwest side. This section of climbing is mostly Class 2 with only a small amount of Class 3. As you traverse around the summit, look upward for the easy path to the summit. This path is quite obvious and occurs just before what appears to be the end of the ledges. Follow the path as it corkscrews around the summit block. The final bit of this route places you on the very small summit from the west. The summit is quite small, and the day I visited, was buffeted by high gusty winds. It was all I could do to snap a few pictures before I was forced to descend twenty or so feet onto the mountain’s south face so I could warm my fingers in the sun. Note: I found it interesting that the summit area of The Shard does not have as difficult climbing as it appears from a distance. During my last visit (20sep07) I climbed around on a couple of the other summit blocks in order to judge their difficulty. The rock is very stable and there is less exposure than one might think. I decided that, with careful route finding, one could reach any of the highpoints east of the east (and actual) summit of The Shard with only Class 4 climbing, though I’ll grant you it would require a bit of down-climbing here and there. A conversation with the other SPer who has been to the summit confirmed my belief. Essential GearThe climbers’ route requires rock climbing and boulder hopping, sturdy shoes or boots are strongly suggested. From the trailhead, it takes a fairly long time to reach Hart Lake, about 3 hours, and the elevation gain for this route approaches one mile. Be sure to carry plenty to eat – you’re going to need the fuel. Otherwise, come equipped with "normal" hiking/climbing gear. If you attempt this route under snow conditions, either snowshoes or skis (with skins) are recommended. When To GoThis summit could be visited any time of year. If visiting under heavy snow conditions, an ice axe would be a necessity (crampon use is likely) to navigate the portion of the route going up the ridge.I saw no signs of recent avalanche activity anywhere along the route, but one should always be fully alert when traveling over snow when avalanche conditions are present anywhere in the area. There are several places along the route where avalanche activity is most likely to occur. The spot where the route reaches the moraine just south of and below the largest gully up the north side of the canyon (45.95584 N – 114.30217 W) is the first. After that, almost anywhere on the climbers’ route (after exiting the woods close to Hart Lake) is prime avalanche territory. Know what you’re doing and pay attention! Route Statistics
Additional Pictures |


