-
 2832 Hits
-
 75.81% Score
-
 6 Votes
|
|
Route |
|---|---|
|
|
Trad Climbing |
|
|
Spring, Summer, Fall, Winter |
|
|
Half a day |
|
|
5.6 (YDS) |
|
|
2 |
|
|
Overview
The odd name of this route makes more sense when you learn that the route is right next to a sport route called Sport Climbing is Neither. To the best of my knowledge, it is the only trad route at the Gallery. Showing up here with your trad gear can be rather amusing, as we got looks suggesting either "What are these idiots doing with all this trad gear at a bolted wall?" or "What the hell is all that stuff they've got?" My impression was that most were thinking the latter, for many of the people present just screamed gym climber.
Although this is really a two-pitch route, some break up the second pitch to reduce rope drag. Details for this are in the route description.
Despite the 5.6 rating, the only 5.6 climbing, if even that, is on the first half of the first pitch, especially for the first 50 feet or so. There, though, the protection is decent, whereas the rest of the first pitch, though easy, is fairly run-out. If you do most of your climbing someplace with a reputation of being stiff for the grades, you probably won't think this climb is 5.6.
My original info source for this route was a Mountain Project page. The author thinks his party might have made the FA, so I wanted to give him a nod here for supplying the beta.
Getting There
From SR 159 west of Summerlin, turn onto the Scenic Loop in RRCNCA. Drive about two miles to the Second Pullout and park.
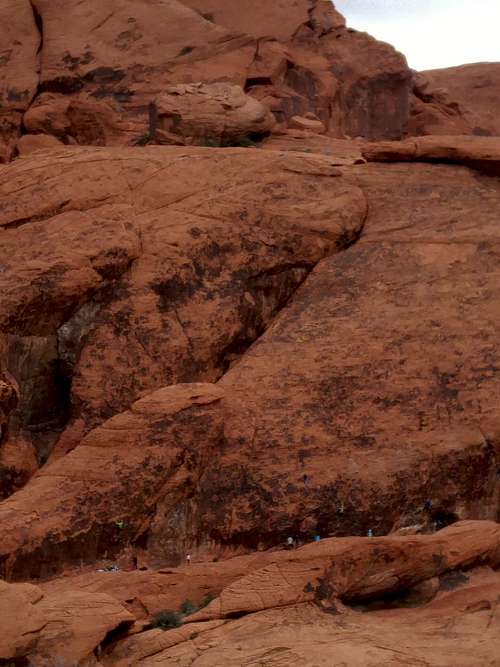
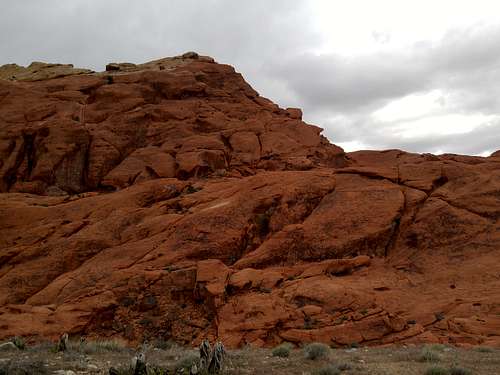
Head down the trail from the overlook. When the trail splits, take the left fork. You'll go over a hill and then drop into the wash bottom below. There, in the vicinity of a pine tree (looked dead when I was there in March 2016), follow slabs up to the wall called the Gallery. Cairns might help steer you.
Route Description
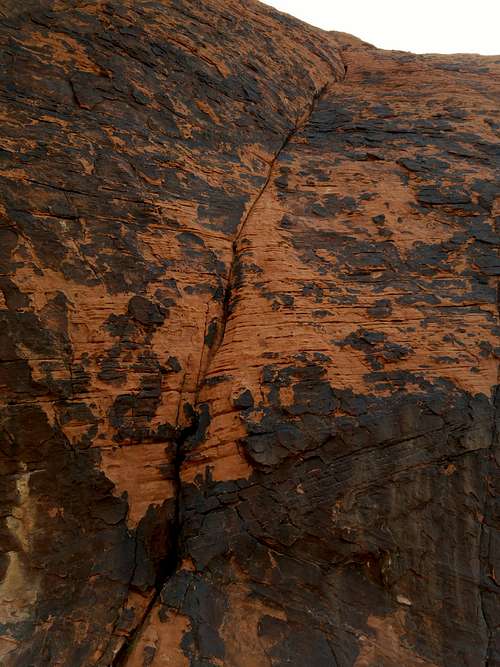
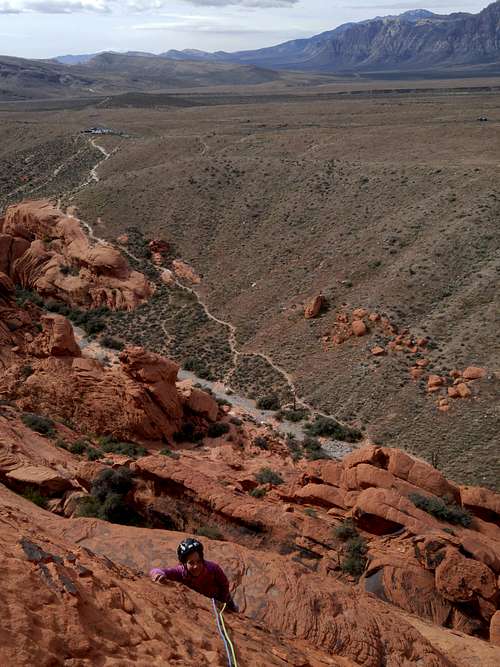
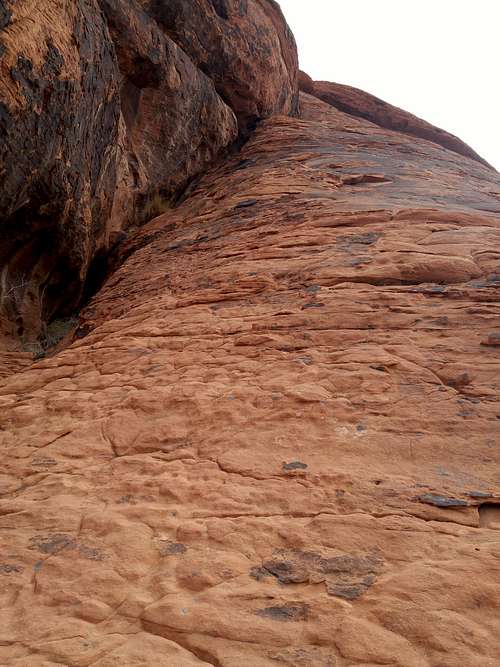
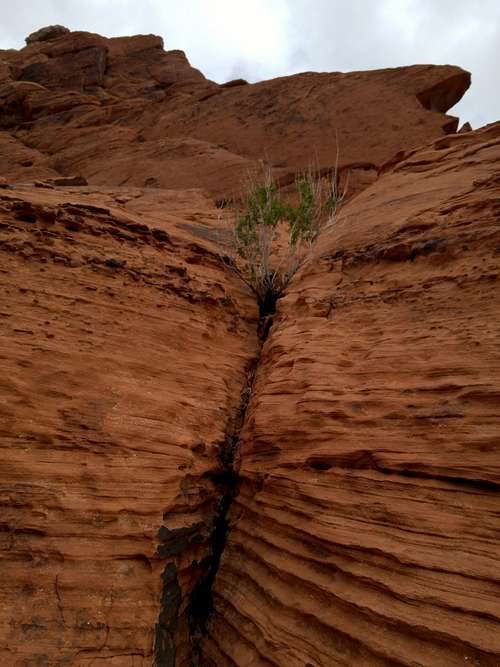
Pitch 1-- 5.6, 100'. Climb an obvious crack to the right of an obvious corner. There are some bomber nut placements early on. About halfway up, the crack starts flaring and pro gets sparser. I found myself wishing I had brought my DMM Offset Nuts. Although the climbing here is easy, take any chance for pro you get since a fall might mean decking (and dying). I even slung a sketchy jug; the placement was more psychologically reassuring than anything else, as that jug likely would have broken or the sling might have come off in a fall, but it was the only thing available at that point given the gear I had on hand. When you have gone about 100', move left across easy ground to a wide ledge and rock outcrop and build a gear anchor. There is also a bolt on the ground here; we used it to protect the second-pitch belayer from an upward pull.
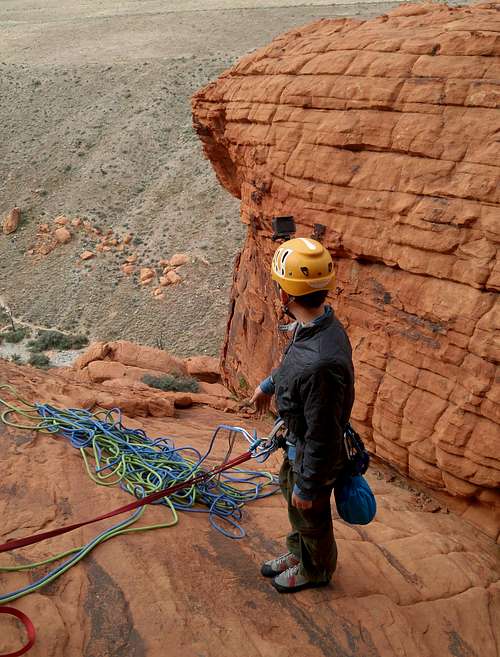
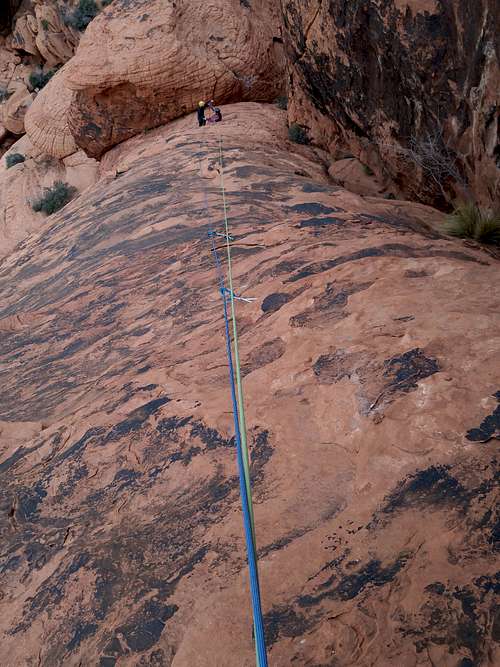
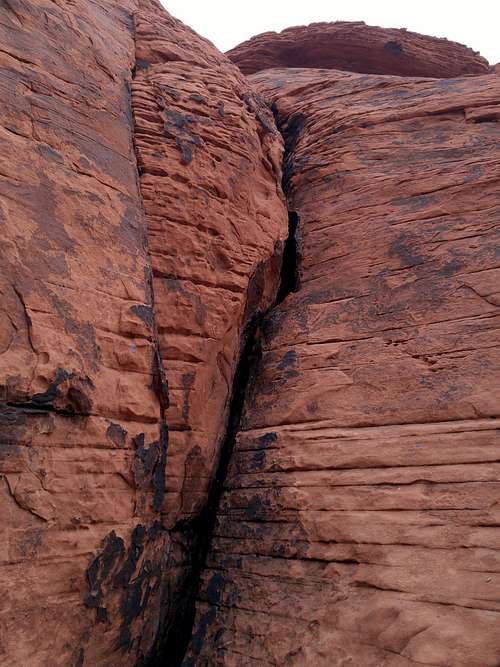
Pitch 2-- 5.2-5.4, 140'. Head up the easy slab; this is like 5.2. I was able to place three cams horizontally along this section, which is about 100'. As the slab ends, spot a large, obvious crack on the left. Here is where, if you want to reduce rope drag, you should build another gear anchor. We got some stoppers and cams in and around the base of the crack. The crack might be 5.4, takes pro well, and is over quickly. On the flat ground above the pitch, use slings or cordelette to build an anchor.
There is a hike/scramble descent possible to the right (as the climber faces west). You can rap back down, of course, but it means leaving gear behind; from the top, you could leave just some slings and some biners or rings, but rapping from the top of the first pitch will almost certainly involve abandoning some pro pieces as well. Not worth it unless you're rich, really lazy, or both.
Essential Gear
I had two sets of stoppers, and I had two sets of cams equivalent to the 0.3 to 4 in the BD C4 sizes.
However, a set of offset stoppers or cams would really help on the upper half of the first pitch. As I mentioned already, I was wishing I'd had my DMM offset nuts.


