
-
 947 Hits
-
 74.92% Score
-
 5 Votes
|
|
Route |
|---|---|
|
|
Trad Climbing, Sport Climbing |
|
|
Spring, Summer, Fall, Winter |
|
|
Less than two hours |
|
|
5.8 (YDS) |
|
|
2 |
|
|
Overview
Close to the Top is a two-pitch route on the Backside of Enchanted Rock. Depending on where you stop and anchor after leading P2, it is 180-200', and if you have enough rope, it might be better to do this as one long pitch for reasons I will cover in the next section.
Although this route has bolts, it is not really a sport route. The old-school style of the climbing pioneers here dictated ground-up development and only protecting the hard moves at the grade (for example, a 5.6 may only have bolts to protect 5.6 moves, a 5.10 may only have bolts to protect 5.10 moves, and so on). Thus, there are only two bolts, fairly close together, protecting 5.7-5.9 moves just before, between, and just after them.
For the rest, you are soloing although there are some trad placement options before the moves to the first bolt. But that's already 60' or more up from the deck.
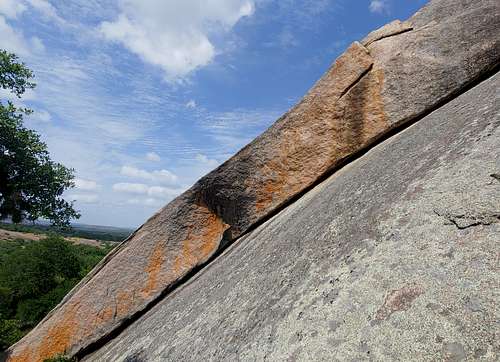
To get there, set out on the Summit Trail and then take the Echo Canyon Trail. When that trail reaches a board with lots of information posted, head right on a good trail that follows the Backside and has several spur trails to various walls. Look for the Yellow Trail and take it to the base of the dome. Devil's Slide is to the left. Walk/clamber/scramble until you see the long, obvious overlap pictured on this page.
Route Description
P1-- 60' or so, low-angle slab that is maybe 5.4 or 5.5. Climb the slab to the overlap beneath a large flake a few yards left of a detached block. Build a gear anchor. There is no protection on this pitch unless you decide to follow the overlap from the ground up; I do not know the difficulty and the protection if you go that way.
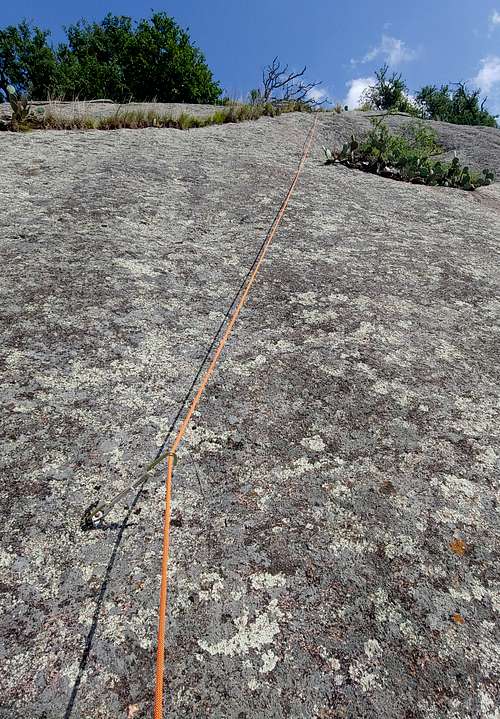
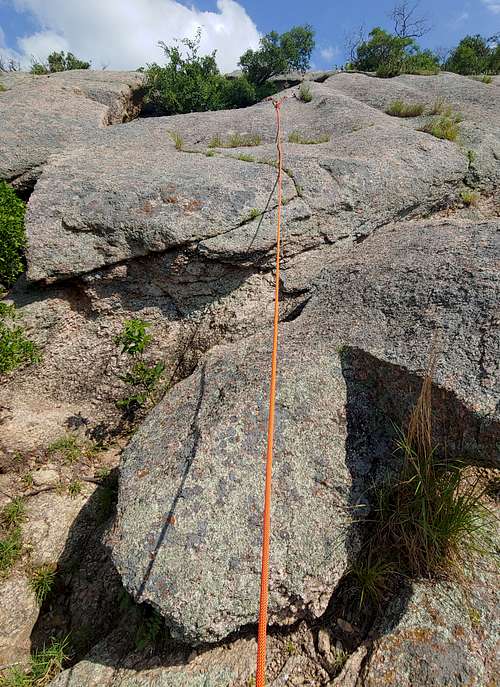
P2-- 120+', 5.8+. Climb the flake to a bolt (can't reach it from the belay, so don't lead this unless you're solid at 5.7/8). The 5.8+ is a thin section between that bolt and the next one. After you clip the second bolt, you're climbing 100' or more with no protection at all. The grade is low 5th, but there is a lot of lichen that makes this slippery and thus a little dicey at the grade. Belay from boulders or go a bit higher to cracks.
If your rope is long enough, it might be better to do this in one long pitch. Should you blow the move from the P1 belay to the first bolt (you probably won't want to place gear in the flake), you're falling onto the anchor and belayer unless you can place more protection in the overlap (I did get a stopper in the overlap and a passive Tricam in the flake). Making it one pitch and protecting at the overlap, even with two pieces if you don't trust the rock, might be preferable. This is your call, of course.

|
|
|
Essential Gear
My P1 anchor consisted of the 4-6 BD cams. I found a nut placement and a Tricam placement before the first bolt. I "regular-sized" cams in cracks up top.
Have some long slings in case you want to belay off boulders instead at the finish.
I used some cracks to build a top anchor, and I used 6 of the 7 Totems. One crack was thin enough that it only took smaller pieces, and so I used three, and the other was large enough for the bigger sizes, so I said "What the hell?" and used three there as well.