-
 4183 Hits
-
 74.92% Score
-
 5 Votes
|
|
Route |
|---|---|
|
|
Trad Climbing |
|
|
Spring, Summer, Fall, Winter |
|
|
5.5 (YDS) |
|
|
5 |
|
|
Overview
Three vertical pitches are about all you can get at Enchanted Rock, but if you're willing to do some traverses with some runout sections, you can five pitches and more than 10 if you're willing to put in the effort.
The established traversing routes are 5.5 R, 5.7 (really 5.8), 5.8, and 5.9 R. Of them, Easy Traverse is the easiest and one of the shortest.
Don't be fooled by the 5.5 grade; the runout sections will challenge your head game, and there are two spots I think are spicier than 5.5-- maybe not by a whole lot, but definitely spicier.
Getting There
From the parking lot, take the Summit Trail, break off onto the Echo Canyon Trail, bear right on the Backside Trail, and take the spur marked with a yellow sign. This leads you past the Shield and Cheap Wine Wall to Devil's Slide. The route begins in a corner formed by a huge boulder leaning against the slab. Alternatively, you can scramble to the top of the boulder (I think from the other side, but I haven't done it) and rope up there.
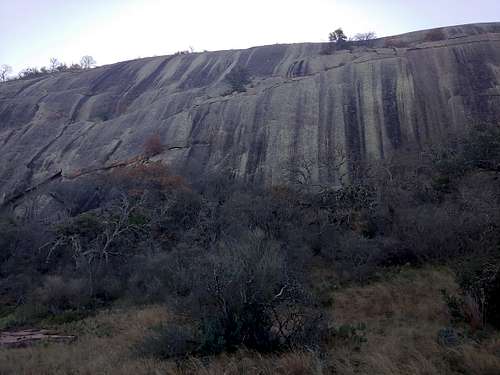
Route Description
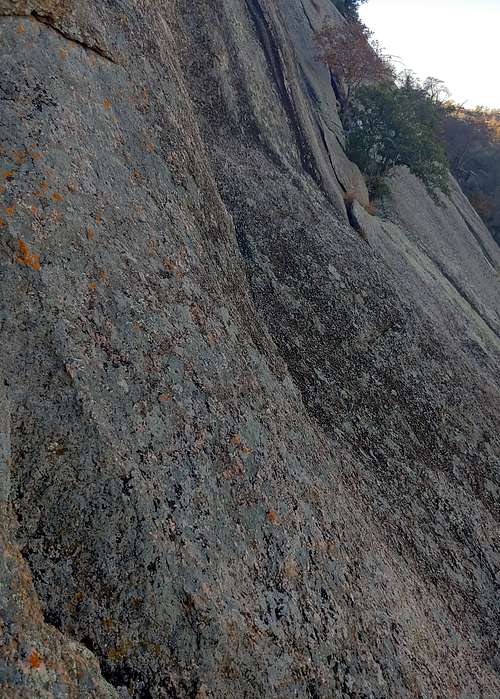
Easy Traverse starts with the first pitch of Easier Than It Looks, crosses Devil's Slide and Cheap Wine Wall, and finishes on a massive ledge that runs above The Shield and News Wall.
How you pitch it out is really up to you; the first party did it in five, and we did it in five, though we broke up one pitch due to nearby traffic, so we technically did six. I'll describe it the way we did it but will note what the first party did.
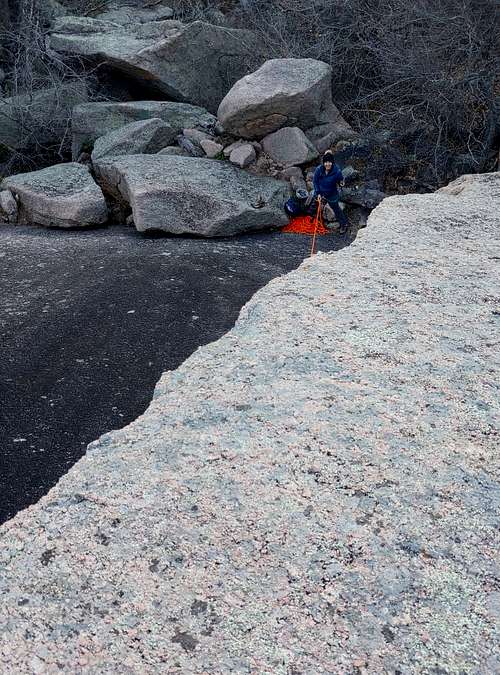
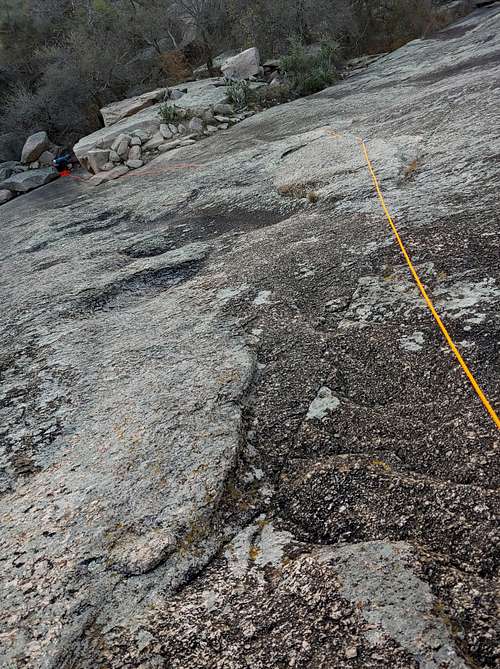
P1-- Climb the corner and then follow meandering, sparse, and questionable protection to a ledge with anchor bolts below a feature called Fatman Flake. 140', 5.5.
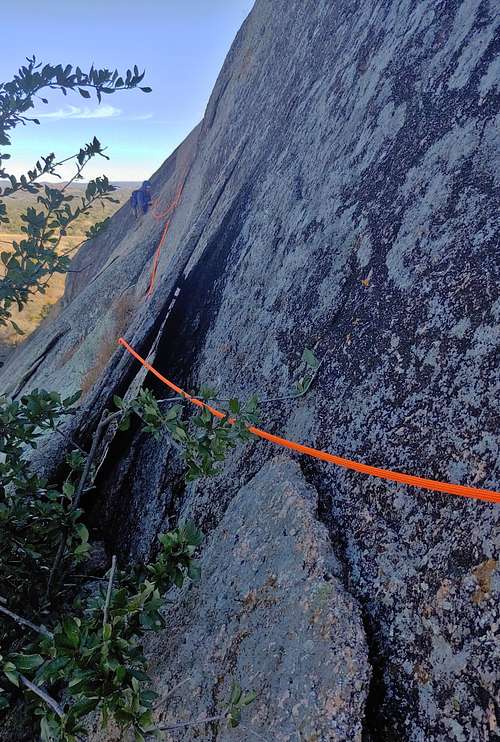
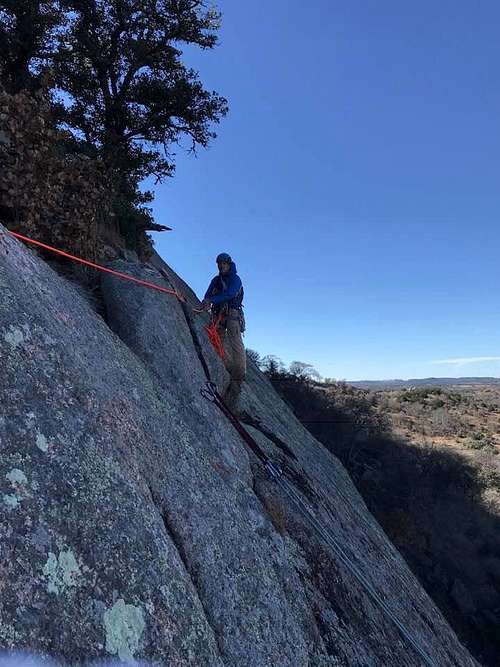
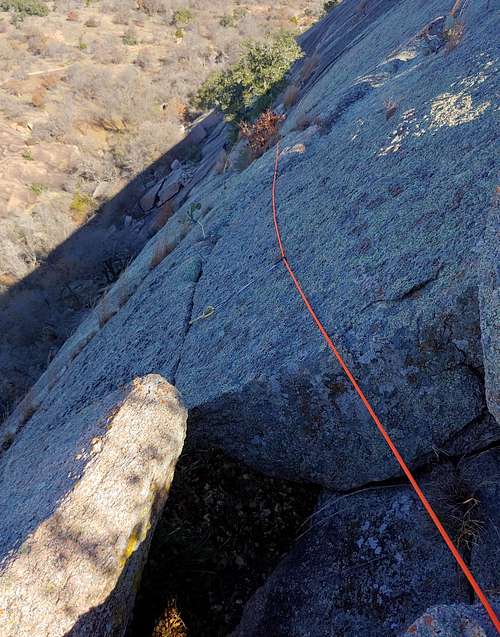
P2-- Traverse right along the ledge to another set of anchor bolts (top of P1 of Mark of the Beast. You can get one or two pieces in near the start of the traverse, which you'll appreciate since one of the spicy spots is along this section. Clip one of the bolts and then make a spicy, unprotected traversing downclimb to the huge ledge atop the first pitches of Boston and The Kracken. You can get some questionable pro in as you near the huge ledge. I thought this pitch was a little harder than 5.5. Belay from anchor bolts.
Rappel-- This pitch is really a rappel/lower/downclimb depending on what you and your partner want to do. I rappelled a short way down and a little right to reach the start of Beer Can Alley, a crease that runs up and right from the middle of Cheap Wine Wall to the massive ledge near the top of the dome, and then I self-belayed up the crease a bit until I reached the anchor bolts for P1 of Dome Driver, where I set up a belay for my partner. An option that skips the self-belay or a scary rappel directly to the bolts is to build a gear anchor in the flaky rock at the start of Beer Can Alley and have your partner aim for that; then do a super-short "pitch" to the bolts for a secure belay for the next pitch.
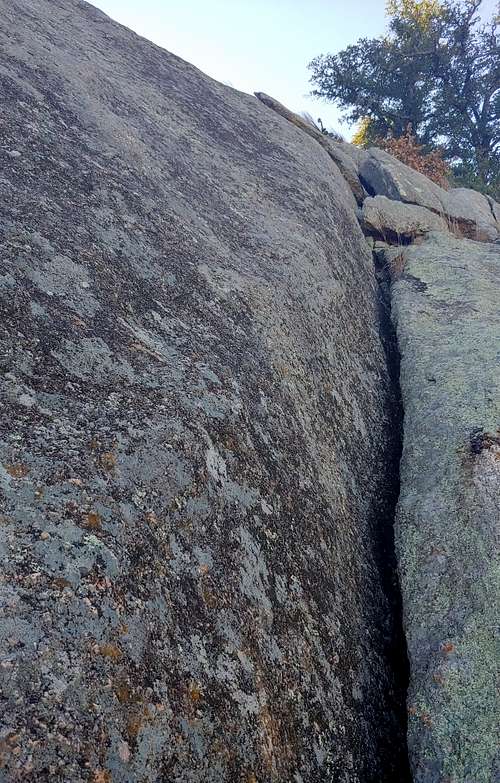
P3-- From here the climbing is much easier and protection is good, a mix of gear placements and bolts (top anchors of various Backside routes). The first party to climb this route did it in two pitches from here, but we did it in three due to communication concerns and traffic (busy day). So our P3 was a short one from the Dome Driver Anchors to some anchors just past the section where all the traffic was. There were some good gear placements along the way; you can also clip anchor bolts below you along the way, but I chose not because of drag concerns and because there were climbers on some of those routes.
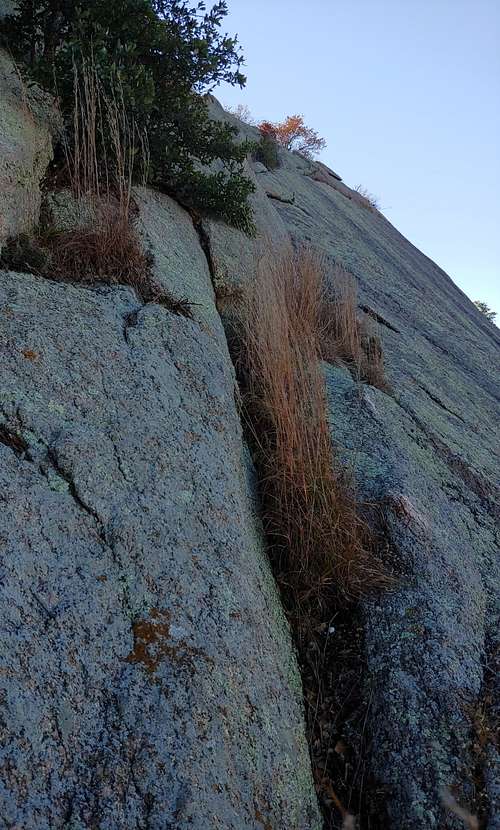
P4-- Bolts and pieces to a two-bolt anchor.
P5-- Bolts and pieces to an opening providing easy access to the massive ledge. Althoough you could belay from anchors just before the ledge, it is easier and safer and more comfortable to make an anchor on the ledge (I put slings on boulders) and belay from there.
Walk off the top of the dome or find the News Wall rappel anchors in a slot not far away and rap down (a single 60 just gets you down) if you need to head back to the base to retrieve belongings or if you are not done climbing.
The first party had the rappel as their P3 and then did Beer Can Alley in two pitches.
|
|
|
|
|
|
|
|
Essential Gear
Cams up to #4 if you want them that big, nuts, medium and large hexes, Tricams, alpine draws.
We used an 80m rope and it was plenty. Use at least a 60 if you aim to do the News Wall rap. A 70 will not get you down from the ETIL, MOTB, and Boston ledges. A 60 will get you down from the DD P1 anchors. With a 50, you may have to break this into more pitches.