
-
 2019 Hits
-
 76.66% Score
-
 7 Votes
|
|
Route |
|---|---|
|
|
Sport Climbing |
|
|
Half a day |
|
|
5.8 (YDS) |
|
|
5 |
|
|
Overview
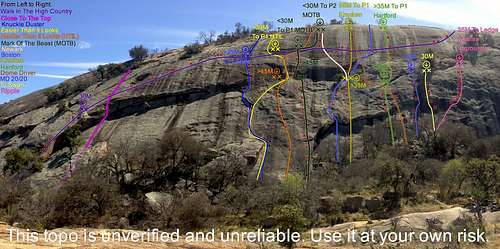
What do you do when your multi-pitch options are limited to two or three pitches and you want more? Why, you traverse!
James Crump-- surprise, surprise-- put this little beauty together. In all, it is five pitches of 5.8 slab, though most of it is easier than that, crossing Devil's Slide, Cheap Wine Wall, and part of the Shield. It tops out near the summit of Enchanted Rock, and although the pitches are all bolted, you will want a very light trad rack for a final anchor since the start of P5 is probably the hardest climbing on the entire route.
Getting There
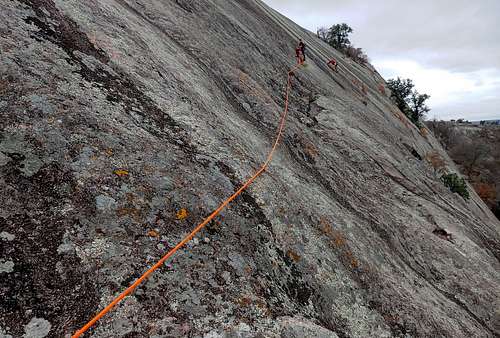
The approach may be the worst part. From the main trailhead, set out on the Summit Trail and then take the Echo Canyon Trail. When that trail reaches a board with lots of information posted, head right on a good trail that follows the Backside and has several spur trails to various walls. Look for the Yellow Trail and take it to the base of the dome. Devil's Slide is to the left.
Now thrash your way left and scramble up to a tree where a prominent overlap begins. If there is an easy way to get there, I haven't found it yet.
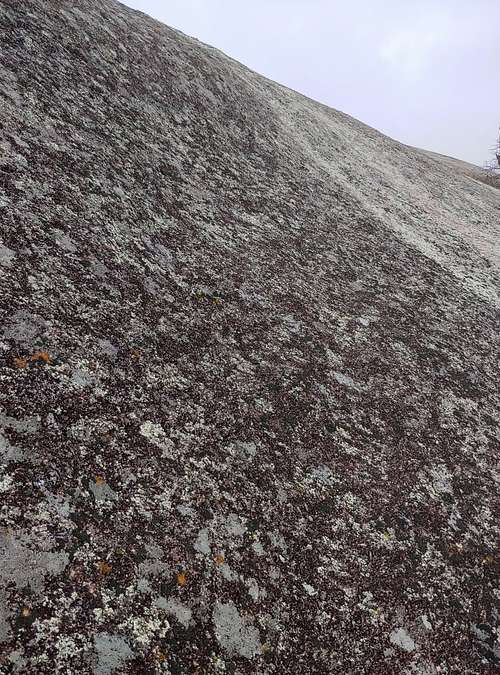
Look up and spot the first bolt of P1. It's pretty high up there, and the slab leading to it is slick with lichens.
Route Description
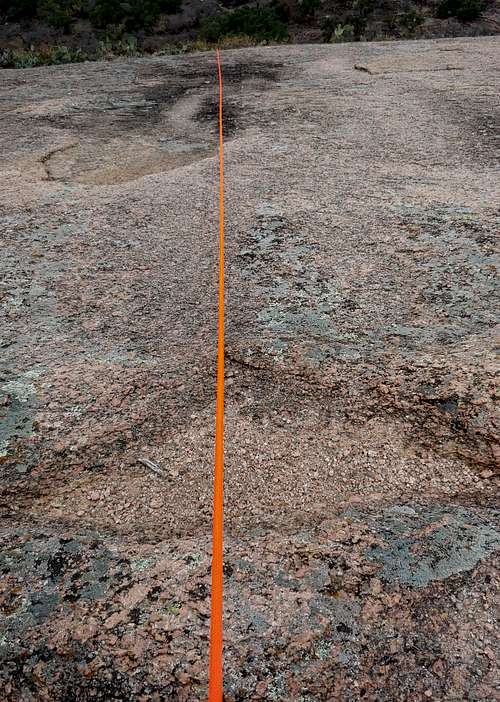
P1-- Take care reaching the high first bolt. The climbing itself is easy, but the rock is slick because of lichens, so take care. After the first bolt, use the edge of the overlap; it is spectacular and you may otherwise be sketched out by the slick slab. 4 bolts, bolted anchors.

P2-- Traverse across the top of the overlap. The line meanders up and down at times, and it can be a little tricky to find the best way through. 5 bolts, bolted anchors. (The MP page says there are 6 bolts, but both leader and follower only saw 5, and an excellent topo for the area only marks 5.)

P3-- The easiest but most run-out pitch. There are no dedicated bolts for this pitch, but after traversing right a bit, you can reach the anchors for Knuckle Duster and clip one of the bolts there. After, that, continue right and slightly up to a large, grassy ledge that has two sets of belay/rappel bolts on it. Clip a bolt on the first anchor (for Easier/Harder Than It Looks P2) and then belay from the second (for Mark of the Beast P2). The MP page notes no protection before the grassy ledge, but it might have been written before Knuckle Duster was bolted.
P4-- This is not the hardest pitch (I'd call it 2nd), but it is the boldest because it has some spicy moves and some heady runout. When Crump put this route up, there were three bolts and then anchors across what is an expanse of nearly 50 full meters (we were using a 50 and I just barely reached the anchors). Since then, two other routes have gone in, and there are now five bolts before the anchors, but there are still some heady sections. From the belay, resist the urge to go up and right on easy ground to clip a bolt; that bolt is on Newark, but you instead need to head more straight right and clip a lower bolt on Newark. Fairly close to that bolt is another, and it is an original WITHC bolt; clip it. Quite close to it is your third clip, a bolt on The Kracken. Now get your runout head together. An intimidating run-out span with some thoughtful sections takes you to the 5th bolt on P2 of Hartford. After that comes the money section-- the runout here is a little shorter than it was on the last stretch, but you have to cross a lichen-covered streak that is scary-slick; the key is spotting the few spots of exposed rock and using them. Once you're past that, clip a 5th bolt and traverse some more to anchors.

P5-- There is just one bolt on this pitch. From the belay, spot the bolt and then head for it up a steepening headwall. The moves up after you clip the bolt are probably the hardest of the entire route, but they're well-protected. Then it gets much easier and you reach the top. Build a gear anchor, belay your second, and walk off.
|
|
A 50m rope will just barely cover P4. Have at least 8 draws and whatever gear you like at anchors. A light trad rack for the last anchor is a good idea; specifically, have a basic set of cams or Tricams; I had the latter in the .25-2 sizes and built a great anchor using some horizontal flakes.