-
 10361 Hits
-
 78.27% Score
-
 9 Votes
|
|
Mountain/Rock |
|---|---|
|
|
43.13683°N / 109.62511°W |
|
|
Hiking, Mountaineering, Trad Climbing, Ice Climbing, Scrambling, Skiing |
|
|
Spring, Summer, Fall |
|
|
13569 ft / 4136 m |
|
|
Overview
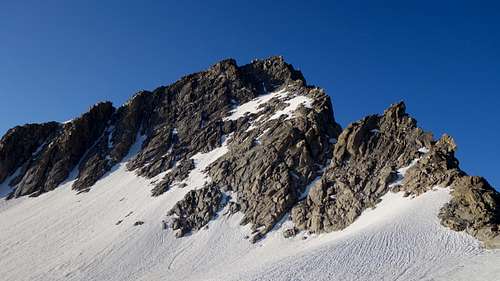
Mount Sacajawea is a very cool peak located on the continental divide between the larger Fremont Peak and Mount Helen, on the east side of Titcomb Basin in the Wind River Mountains. It's one of the 35 Wyoming 13ers (see the list here), and from its easiest route is probably one of the most exposed on the whole list, even though the difficulty is 4th class. The final summit ridge scramble on this peak is the stuff of legends and is a wild experience that will definitely get your heart racing.

Getting There
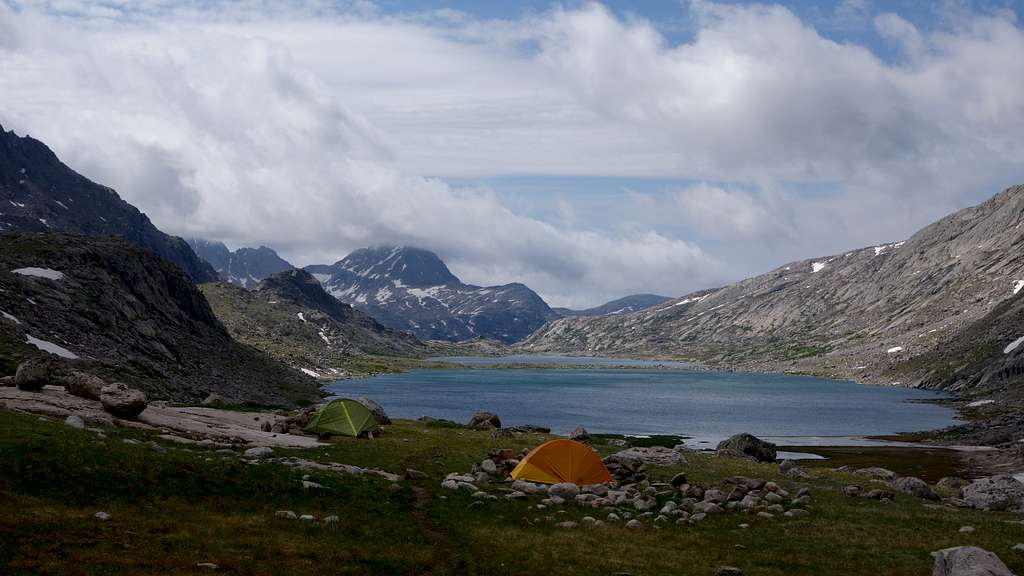
Use the Elkhart Park Trailhead accessed from Pinedale on the west side of the range and hike the Pole Creek Trail to Island Lake, passing by Photographers Point and Seneca Lake along the way. Just after passing over a small divide at 10,660 feet Island Lake will come into view. Descend to it and continue to the junction with the Titcomb and Indian Basin trails. Take the Titcomb Basin Trail heading north/leftward and hike past Lower and Upper Titcomb Lakes as the trail follows along their east shores. Base camp can be set up about 0.5 mile past the upper lake where many rock shelters have been built by Gannett Peak climbers and other backpackers.

Standard Route - East Side Class 4
The easiest and standard route up Sacajawea utilizes the gentle south or east slopes that lead up to the false summit. The quickest way to attain these slopes is from Titcomb Basin, by ascending the south to north oriented talus ramp that starts at the base of the 1500 foot near vertical west face of the mountain. From the camp in upper Titcomb, aim for a small break in the lower set of cliffs that are 500 feet above the upper lake. This break is more or less directly below the summit of Sacajawea. You can scramble through on a series of grassy ledges and small boulderfields. Once you reach the 11600 foot level, you can curve sharply back north and continue on an ascending traverse to the base of the ramp around 11950 feet. From here, it's a grueling 900 foot ascent up the ramp, which doesn't exceed class 3. Game trails are abound on this ramp, although the animals wreck all the talus and make it looser. I found it easiest to ascend the left edge of the ramp on somewhat more solid rock.
Near the top of the ramp, curve back to the right a little and crest at 12800 feet. Here the north side of the mountain pops up and stares you right in the face. The north ridge route (Class 5.4 or so) would begin be heading straight for the start of the rock from here, traversing part of the upper snowfield due south. For the easiest way though, make a gentle descending traverse across the snow in an eastward direction, and aim for the base of a loose looking north facing class 3 gully on the far left side of the north face. Exit off the snow and ascend this extremely loose gully, and be careful not to drop anything on your partners. It's only 300 feet up the gully to the easy snow slopes on the SE side of the mountain, which it reaches at 12,960 feet. I found the right edge of the gully the most solid.
Once on the snow above the gully cut right and head SW. In summer the snow will normally transition to talus at about 13400 feet, and you can boulder hop easy class 2 to the false summit where the fun really starts. The Kelsey guidebook manes no mention whatsoever of the final summit traverse, simply saying "a few hundred feet of 4th class rock". Sounds like a Fred Beckey description to me (which I personally kind of like, so if you don't want to be spoiled stop reading now!)
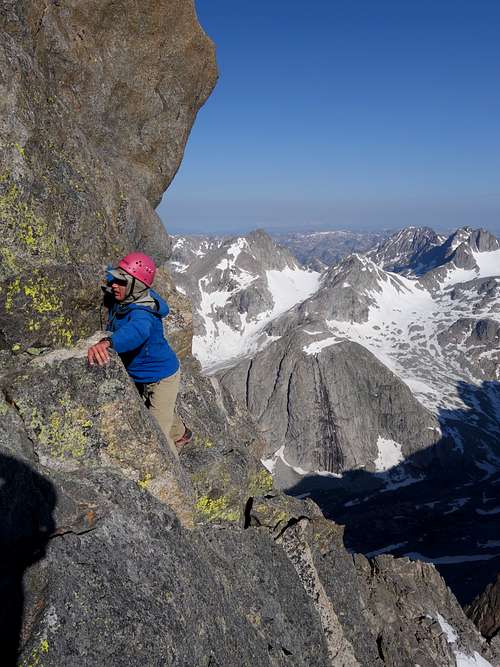
From here, you'll see a very narrow, steep ridge with a couple gendarmes blocking any semblance of an easy path. You will first have to downclimb a class 4 drop of about 40 feet to the notch, then begin a delicate traverse below these gendarmes on slabby rock on the north side. Small ledges and cracks can be connected together to make lateral and vertical progress as you sidestep your way below two gendarmes. The difficulty doesn't exceed 4th class but the exposure is extensive. Luckily, the overall distance of this traverse is relatively short, and we were through it in less than 10 minutes.
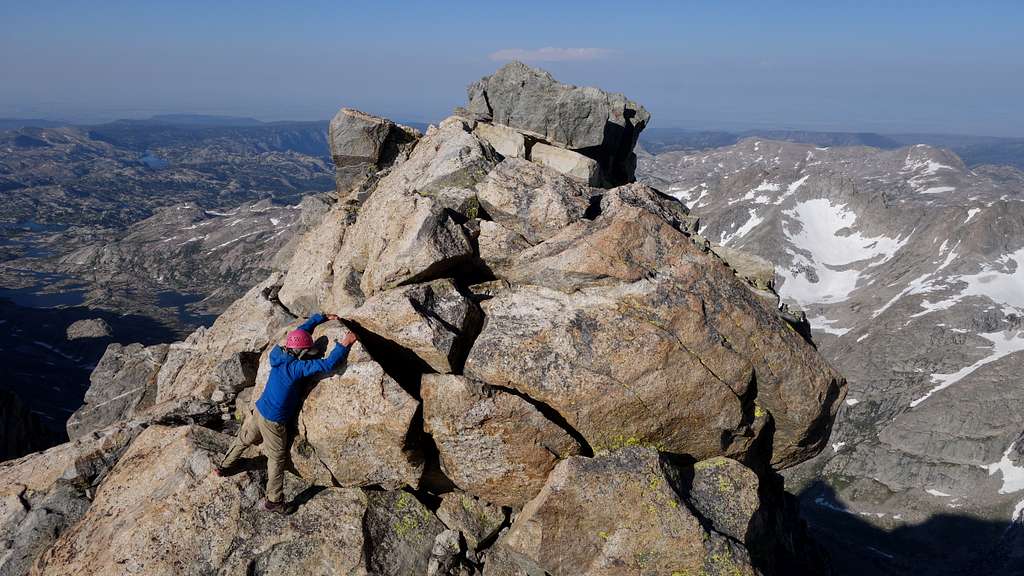
Once past this obstacle, reach another very small sub-summit just a stone throws away from the true summit, but separated by a committing jump onto a large chockstone wedged into the next notch. Make a delicate downclimb onto a narrow slab and commit to the jump...luckily it's a pretty big landing, but if you do miss, it'll be a 2000 foot tumble to your final resting place.
Right after the jump, make a much easier step off the chockstone and make a very exposed traverse left on a small ledge using great handholds on the huge boulder that sticks into your face to shimmy leftward and around it. Once around this it's a 15 foot walk to the highest point, where a very old summit register greets you that kind of looked like an ancient thermos. Enjoy the views.


On the way back, the jump is easier, since you can just upclimb from the chockstone up the narrow slab, although a shorter person will have a hard time with this, since there's only a couple small ledges to use on that slab. A boost may be necessary if you're under 5' 6" or so. We felt comfortable soloing this whole summit traverse, but many parties may want to use a rope, and there were decent places to place protection on the traverse below the gendarmes, however a rope might make things more dangerous on the jump if not thought through carefully.
There are many other routes that have been done on this peak, with the Kelsey guide listing three routes above 5.9 on the west face, and a couple 5th class routes on the south summit, but again, these also ascend the steep west face. If anyone has done these, or the more mellow low 5th class north ridge route feel free to add them here.
Red Tape/Camping
No red tape. Great Camping can be had 0.5 mile above upper Titcomb Lake, or near the junction of the Indian/Titcomb Basin Trails.
When to Climb
Best time for summer conditions will be July - Early September. Ski touring would be advisable before June. The initial hike towards Seneca Lakes dries out a little earlier, but tons of snow typically persists in Titcomb Basin past July 4th, but will normally dry out reasonably well shortly after mid July.
Map
This map shows the standard route up Mount Sacajawea with a green line from a typical camp in Titcomb Basin. Combining with Mount Helen is also displayed.
External Links
My Trip Report of Mount Sacajawea, and all the other 13ers in the Wind Rivers

